Smart Objects and Masks
Photoshop 101
Add your hero image to the landing page and learn about image masks.


Day 5: Smart Objects and Masks
Yesterday we learned about adjustment layers, blending modes, opacity, the patch tool, clone stamp tool, rotating images, and working non-destructively with photos.
Today, we’re going to place the JPG image we exported into our Landing page design. But we’re not going to paste it in as a standard raster (image) layer. The reason we don’t do this is that if we resize a raster layer, it loses fidelity. For example, making a raster layer small and then big again would force Photoshop to redraw the layer, causing it to become muddy and pixelated.
Instead, we’re going to add it to our Landing Page file as a Smart Object. Smart Objects are like files-within-files. It means that Photoshop will insert our image and allows us to scale it up and down without losing quality.
Day 5 learning objectives:
- Learn how to insert graphics as Smart Objects
- Use the Place command
- Find out how the Transform function works
- Create layer masks
Time to complete: 45 minutes
Tutorial
1. Open your Landing Page file from Day 3.
Go to Save As ([[⌘]] [[Shift ⇧]] [[S]]), and save it as “Landing Page Day 5.psd”. Before we do anything else, do a quick check of the Layers panel. Make sure that you’ve got the topmost layer selected. If that’s a group, make sure you have the Group selected, not a layer within the group:
2. Place the JPG we exported yesterday.
All Adobe products have a special command called “Place”. The Place command effectively takes another file and embeds it within the file we’re working on. To do this, go to the File menu, then select Place Embedded. Find the JPG (Landing Page Hero Image.jpg, or whatever you called it) and click Place in the bottom right of the dialog box.
The hero image will now be sat on top of our other layers. Photoshop will also take you straight to “Transform” mode, which is why you have all the resize handles showing. We’ll come back to that later. For now, just hit [[Enter]] to finish placing the image.
One thing to notice before we go any further: now that we’ve placed the layer, you’ll see there’s a special little icon with this layer in the Layers panel:

This icon tells us that the image has been placed as a Smart Object. Any layer that’s shown with this icon is also a Smart Object.
3. Drag our smart object so that it’s above the big rectangle.
On Day 3, we created that big rectangle as a placeholder for the hero image. In the Layers panel, let’s drag the photo layer we’ve just created so that it’s sitting just above that shape in the Layers list.
4. Create an image mask.
Funtimes! Our next step is to use that big rectangle to mask the photo layer that’s right above it. An image mask takes two layers, and allows the contents of the upper layer to show through the shape of the lower layer. So when we create this mask, we’ll simply see the photo showing through the rectangle.
To create this mask, it’s as simple as holding down option and hovering in between the two layers in the Layers panel. We’re looking for a special mouse pointer to appear – it’s a sort of right-angled downward pointing arrow. Click once (with option still held down) to create your mask.
Voilá! You should now have something like this:

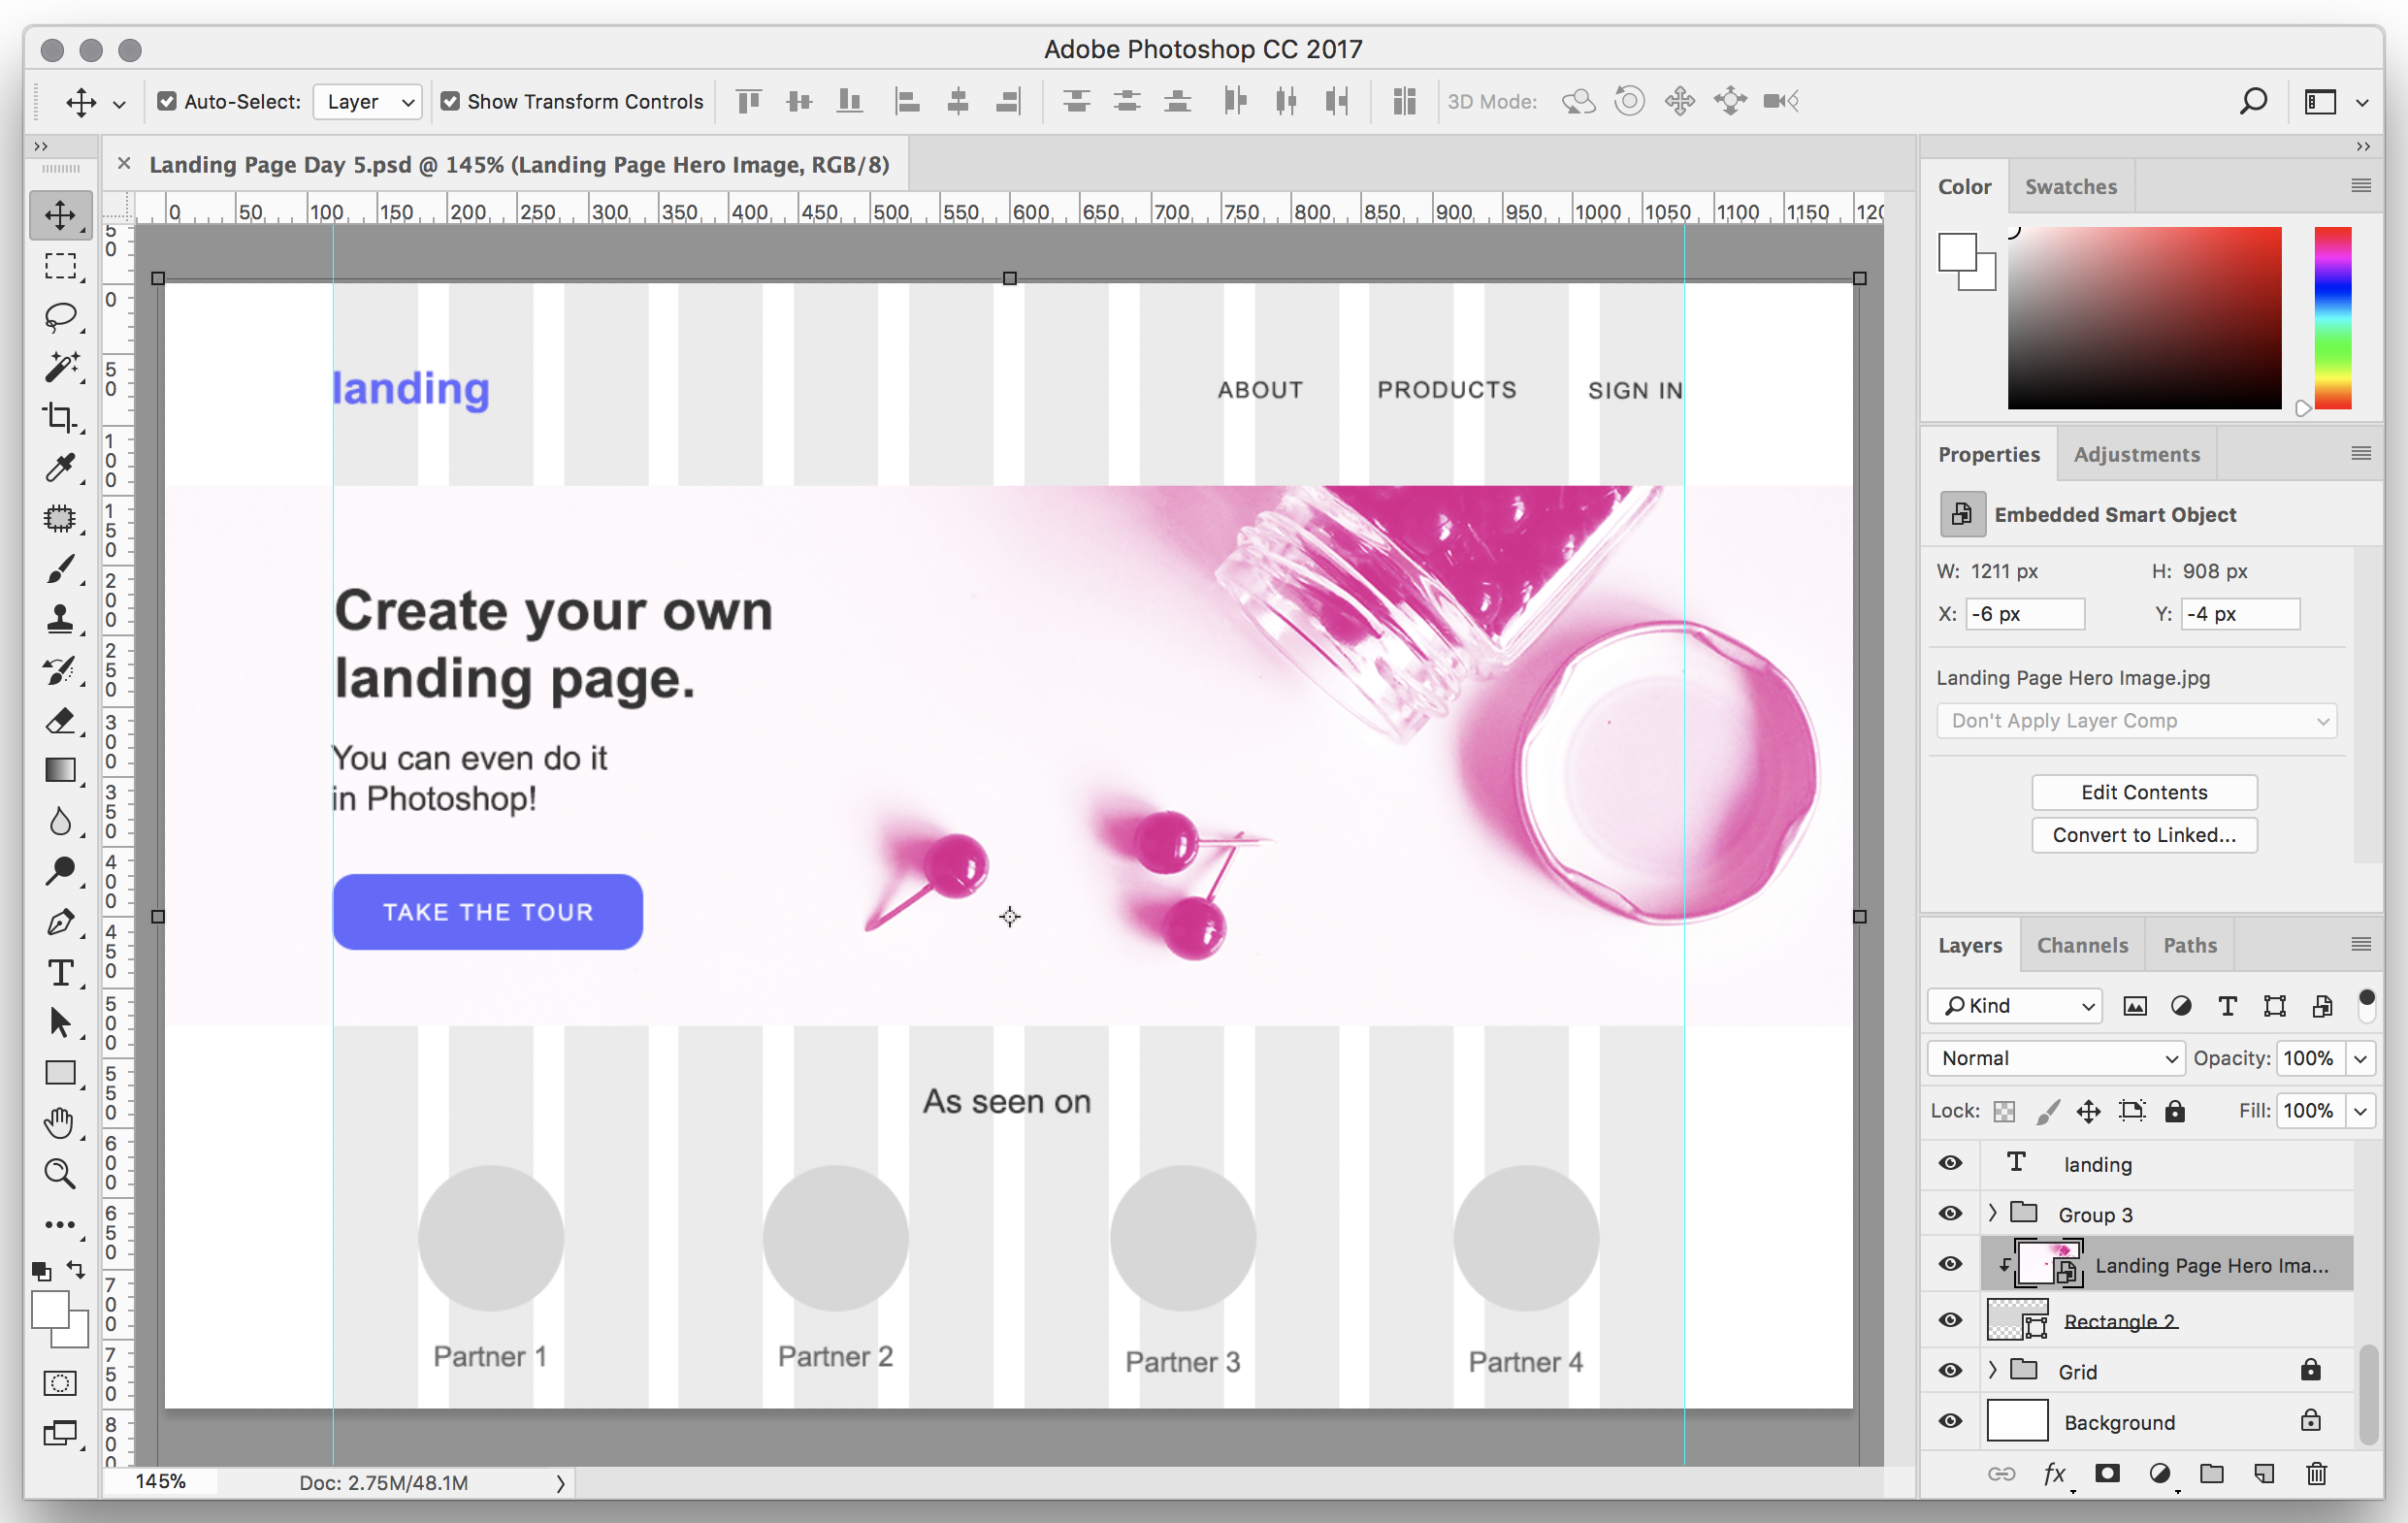
5. Resize and move the image layer while it’s within the mask.
We do have a slight glitch though—see those vertical gray blocks to the left and right of our hero image? They’ve appeared because currently our hero image layer is smaller than the width of the page. As a result, some of the rectangle we used to mask the image is showing through.
To fix this, we need to make sure that the the hero image layer is selected in the Layers panel (as shown above), then press [[V]] to select the Move tool.
We want to resize the image from the center, and we also want to make sure we don’t stretch the image at all. This means we need to hold down option (which tells Photoshop to resize from the center) *and* hold down [[Shift ⇧]] (which tells Photoshop not to stretch the image). Then, click and drag one of the corner handles to make the hero image slightly bigger (if you use one of the edge handles, pressing [[Shift ⇧]] won’t work, and Photoshop will stretch the photo).
Let’s also drag the image down a bit so we can see more of the jar. Alternatively, you can use the arrow keys to “nudge” the layer. Once you’re done editing, hit [[Enter]] to exit Transform mode.
Here’s how things should be looking:
6. Repeat this process for the four circular image placeholders.
We’re prepared 4 more JPGs for you—download them and repeat the process of:
- placing them as smart objects
- moving them above the circle shapes in the Layers list
- creating a mask
- moving and resizing the smart object until it looks right
That’s it for Day 5!
Today we’ve covered heaps, including Smart Objects, the Place command, layer masks, and using Transform commands to resize objects. Tomorrow, we’re going to complete the rest of our landing page design to consolidate all the skills we’ve learned on the course so far.

Complete the Landing Page!
Apply your new skills by designing the rest of the landing page.