


Photo Editing and Enhancement
Photoshop 101
Create your landing page hero image by editing and enhancing a photo.


Day 4: Photo Editing and Enhancement
It’s Day 4! You’ve made it to the halfway point of Photoshop 101. In the first half of the course we focused on finding our way around Photoshop’s interface, and learning some key tools and functions, like how to create shapes and text, as well as how to group layers, create guides, and set up a column grid to help us lay things out.
Today, we’re going to take a bit of a break from layout, and instead study what Photoshop was first created for—editing and enhancing photos.
Day 4 learning objectives:
- Make changes to an image non-destructively
- Use the patch tool to remove unwanted areas of an image
- Use the clone stamp tool to duplicate areas of an image
- Add adjustment layers
Time to complete: 30 minutes
For today’s tutorial, you’ll need to download this image file (photo credit: Jess Waters via Unsplash).
1. Set up your Photoshop file.
To open up the photo, hit [[⌘]] [[O]] in Photoshop, then find and select the file you downloaded, and click “Open”. This is our “master” image, and to maintain a non-destructive workflow, we want to keep a clean copy of the image so that we can always get back to where we started.
One way we can do this is to keep the original image in a Background layer, and to keep that layer locked. As well as helping us with our current workflow, doing this also means if we come back to this file in several years’ time, when we’ve probably lost the original file, we will still be able to access that image as a layer within the Photoshop file.
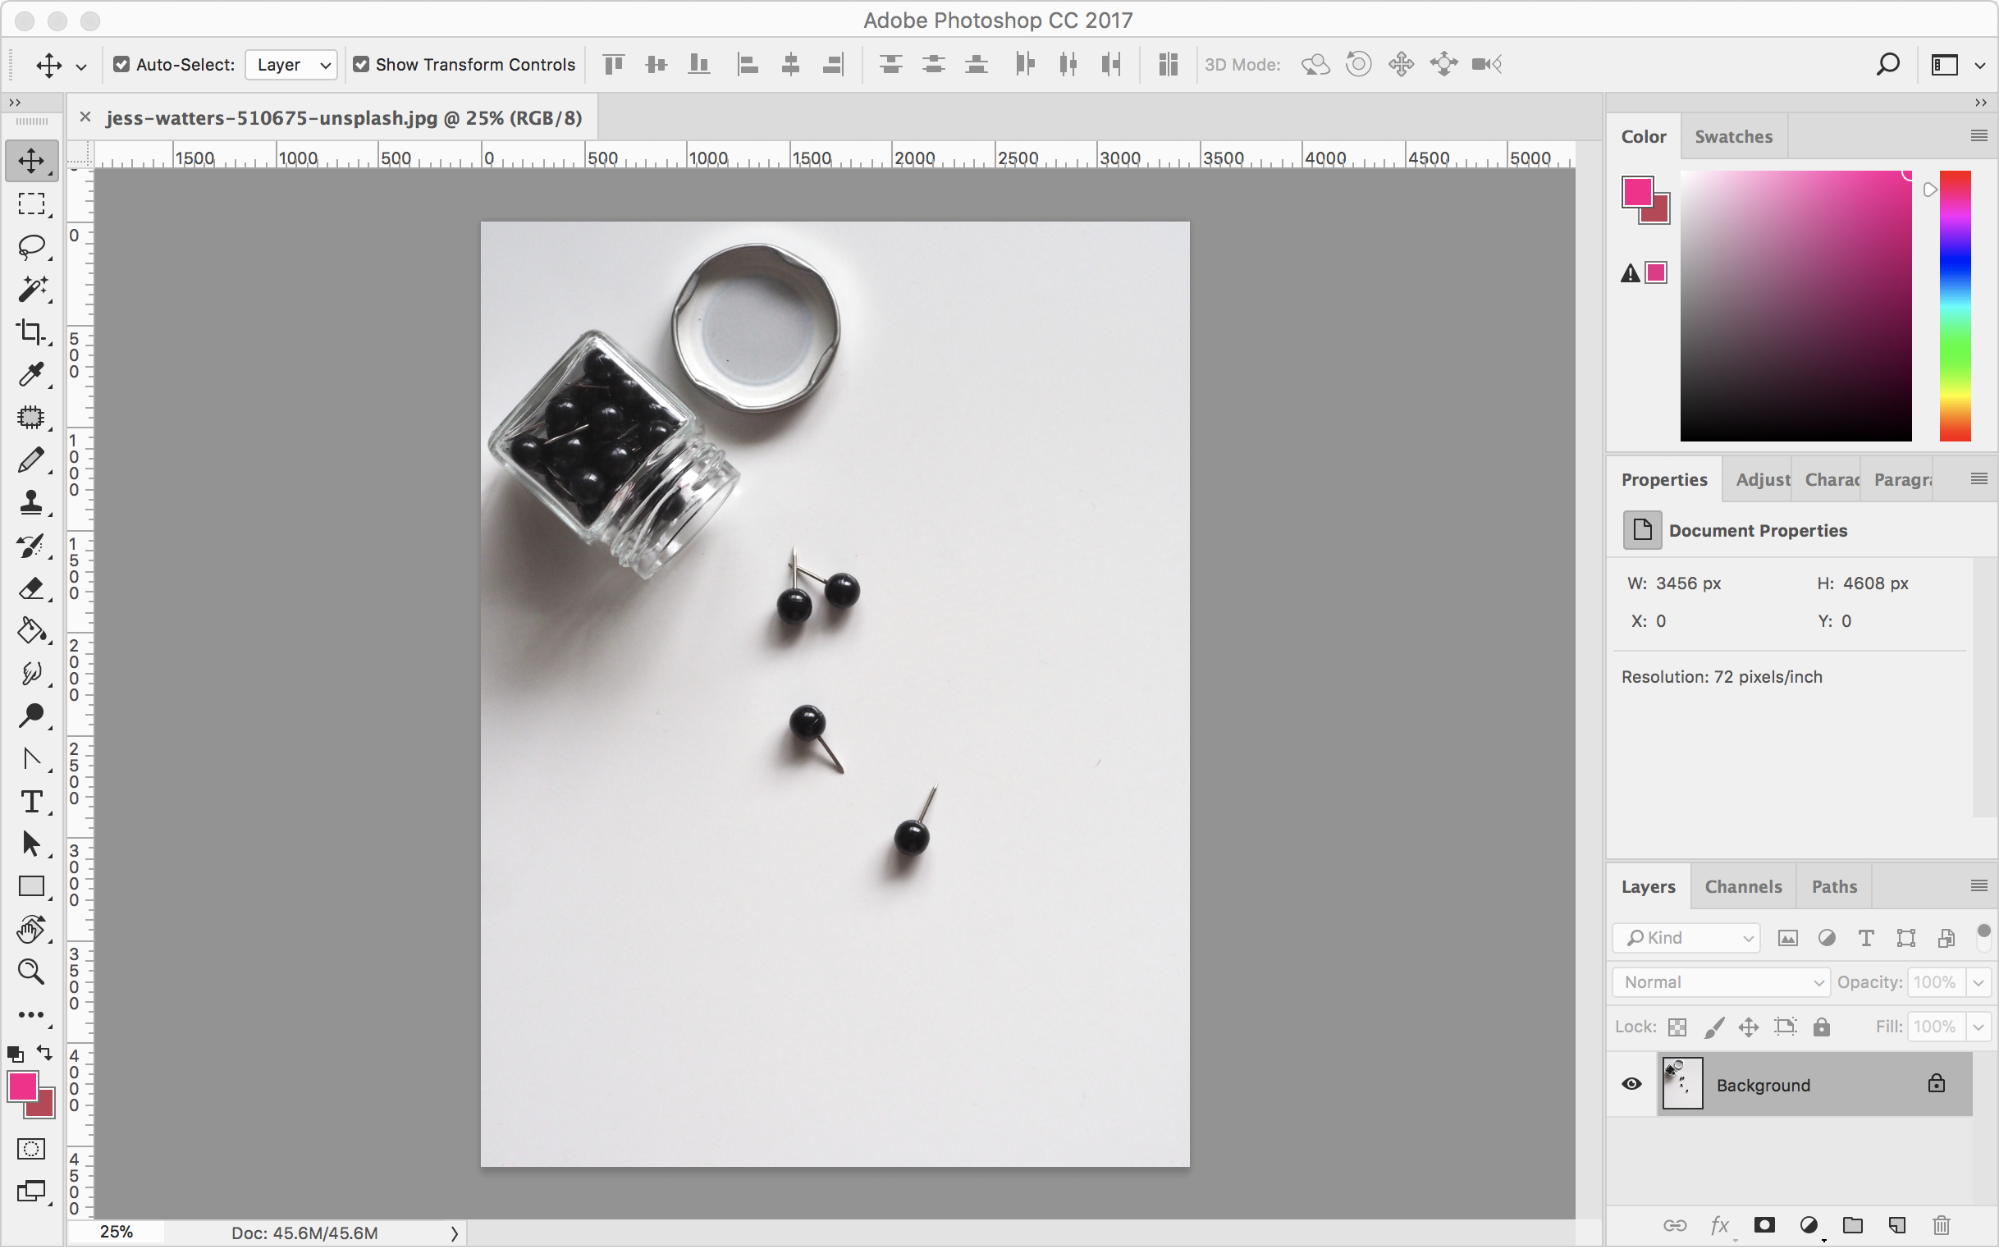
When you open up the file, it’ll look something like this. Let’s select File > Save As… (or just press [[⌘]] [[Shift ⇧]] [[S]]) and save this as a Photoshop (PSD) file called something like “Landing Page Hero Image.psd”. In the “Save As” dialog box, make sure that “Photoshop” is selected in the “Format” dropdown menu.
2. Duplicate the background layer.
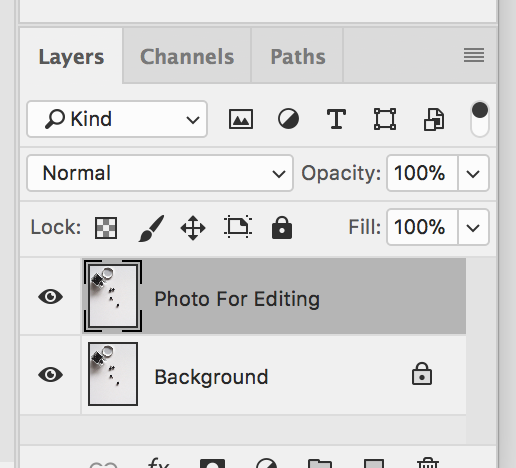
We want to keep that Background layer intact and work on a duplicate layer. So, [[Control]] + click where it says “Background” in the Layers panel, and click “Duplicate Layer…”. It’ll ask you which document you want to duplicate the layer in—in this case, we want to duplicate it in the same document (Landing Page Hero Image.psd). Give it a useful name, like “Photo For Editing”.
Your Layers panel should now look like this:
3. Rotate the image.
Okay, now that we’ve set up the document, we can get to editing. First, we’re going to want to use this image in Landscape format. Head to the Image menu at the top of the screen, then select Image Rotation, then hit 90 degrees clockwise. This rotates the entire image, so all layers are affected. Hit Save! ([[⌘]] [[S]])
4. Add an adjustment layer.
The special thing about adjustment layers is that they affect all the layers “underneath” them in the Layers list without affecting the data in those layers themselves. This makes them perfect for a non-destructive workflow.
Let’s try a simple adjustment layer first. With the “Photo For Editing” layer selected, click the icon in the middle of this row of icons at the bottom of the Layers panel:

Select “Brightness/Contrast”. Note that this has added a new Layer in the list, and opened up some settings for this layer in the Properties panel. Let’s increase the “Brightness” setting to about 50, and the “Contrast” setting to about 32. You’ll see in the main image area that making this adjustment has given us brighter whites and darker blacks.
5. Toggle the adjustment layer on and off.
This is fun—click the little eye icon next to the adjustment layer to toggle the adjustment on and off. This demonstrates what we mean by adjustment layers being non-destructive. It is also really helpful for doing a before-and-after comparison, and experimenting with different combinations of adjustments.
6. Add a solid color adjustment layer with blending mode.
Next, let’s select “Solid Color” from that little Adjustment Layers menu. Let’s pick a nice bright pink to contrast with the blue button on our landing page design. We’ve picked color #ff0099. This is called a hex code: you can type it in—or view the hex code of any color you pick—in the Color Picker window.
Click OK. Now we’ve got a solid color adjustment layer, *but* it’s completely obscuring what’s underneath it. To change this, we can do two things: change the opacity (transparency) setting on this layer, and change the blending mode. Let’s change the Opacity to 85%, and change the Blending Mode from “Normal” to “Screen”. You’ll now have an image looking something like this:
7. Remove part of the image using the Patch tool.
Next, let’s think about how we want to use this image—as a hero image on our landing page. The left-most pin might interfere with our text and button, so let’s remove it using the Patch tool.
We need to make sure we’re on the layer that we want to edit—so scroll down in the Layers panel and click on “Photo for Editing”. To access the Patch tool, you’ll need to click and hold on the icon with the “Spot Healing Brush”, and then select the Patch tool from the menu that pops up.
Draw roughly around the pin on the left, making sure to get all of the shadow as well. Finally, without changing tools, drag the selected area over to an area of clear space. Photoshop will blend and vanish!
8. Duplicate another area using the Clone Stamp tool.
Next, let’s experiment with the Clone Stamp tool and copy that other single pin. Keeping the “Photo For Editing” layer selected, click on the Clone Stamp Tool in the Tools panel (it’s two icons below the Patch tool).
This tool works slightly differently. First, we need to hold down the option key and click in the center of the area we want to clone. So go ahead and [[Option]] + click roughly in the center of that remaining single pin.
Next, let’s make sure that we’ve got a brush size that’s roughly the same size as the thing we’re trying to copy—head up to the options panel at the top of the screen, and set this brush to be about 300px big.
Finally, click somewhere in the clear space towards the bottom right of the image, and drag. Keep dragging until you’ve duplicated the whole pin, including its shadow.
9. Export the new image as a JPG.
Finally for today, let’s export the image we’ve created so that we can use it in our landing page design tomorrow. To do this, go to File > Export > Export As… Then change the “Format” to “JPG” and click “Export All…” Another dialog box will pop up asking you to confirm the file name of the exported file. Hit “Export”, and you’re all set! Press [[⌘]] [[S]] to save your file, and we’re done for the day.
Adios Day 4!
We hope you’ve enjoyed today’s bona fide Photoshopping! Why not spend a bit of extra time experimenting with all the other adjustment layers and blending modes, trying different combinations to see what effects you can create?
+ Further reading: to find out more about what each blending mode does, check out this overview from Adobe. 99designs also have a great guide to what the different Adjustment Layers do in Photoshop.
* Bonus: A bundle of 10 curated photos to help develop your photo editing skills.

Smart Objects and Masks
Add your hero image to the landing page and learn about image masks.
