Make Some GIFs!
Photoshop 101
Finish off the course with some fun GIF action!


Day 7: Make some GIFs!
It’s the final day of Photoshop 101!
You’ve already achieved heaps this week. Here’s an overview of what we covered:
- Getting set up with a copy of Photoshop
- Finding our way around the interface
- Set up our Preferences
- Crucial keyboard shortcuts (don’t forget your cheat sheets!)
- Setting up a new file
- Exploring the Tools panel
- Professional, non-destructive workflows (keeping layers intact)
- File version control (saving a new file each day)
- Different types of layer (raster, shape, adjustment, fill, type)
- Making and editing shapes
- Creating a layout grid using shapes
- Locking and unlocking layers
- Zooming in and out
- Setting foreground/background, stroke/fill colors
- Creating and removing guides
- Align & distribute commands
- Grouping and ungrouping layers
- Laying out a landing page design using shapes and Type layers
- Setting corner radius on a rectangle live shape
- Creating a button design using a rectangle live shape and a Type layer
- Non-destructive workflow for working with photographs
- Using the patch tool to remove unwanted area of an image
- Using the clone stamp tool to duplicate an area of an image
- Adjustment layers (like brightness/contrast)
- Exporting images as JPEGs, PNGs or TIFFs
- Placing an image file as a smart object in another file
- Resizing and repositioning smart objects
- Creating image masks using smart objects and live shapes
- Canvas Size and Image Size commands
As a final treat, today we’re going to create an animated GIF from scratch using Photoshop’s Timeline feature. W00t!
To create a GIF in Photoshop, all you need is a number of image files of the same size. These could be a series of frames to create a GIF that resembles a video—but they don’t have to be. For example, you could also create a GIF with images of different design projects, effectively creating a slideshow of your work.
We’ve got two sets of images for you to download and work with today. One is a series of images that we can put together to create a cat GIF. The other is a little slideshow we created from one of our tutorials on Instagram. You can recreate it!
1. Download today’s files.
We’ve got 37 frames for our first GIF, and 10 frames for the second GIF—download them here!
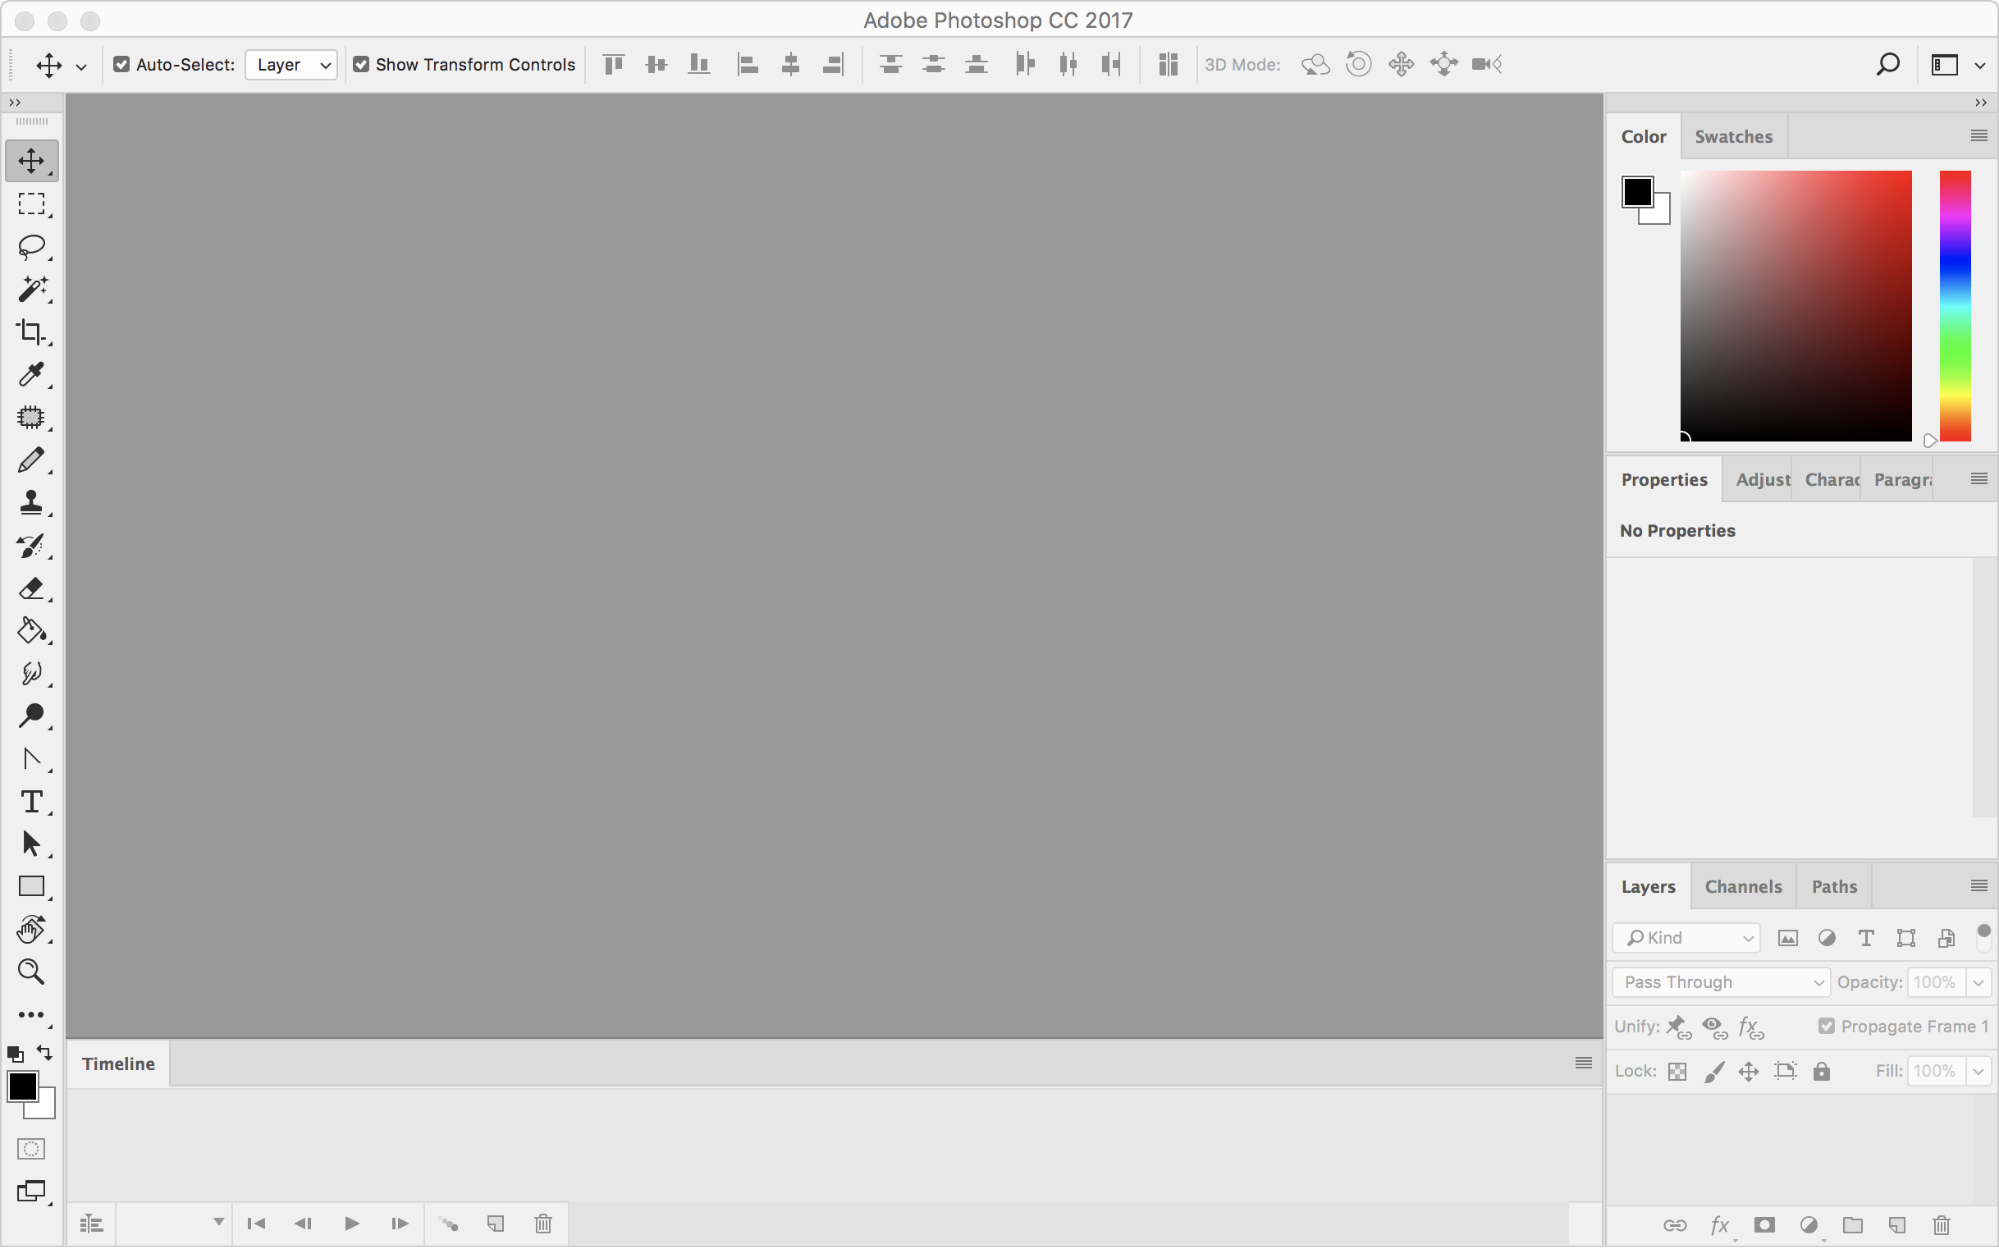
2. Open the Timeline.
Next, we need to bring up the Timeline in Photoshop. To do this, go to the Window menu and click Timeline. It should appear at the bottom of your interface like this:
3. Load the frames for the first GIF.
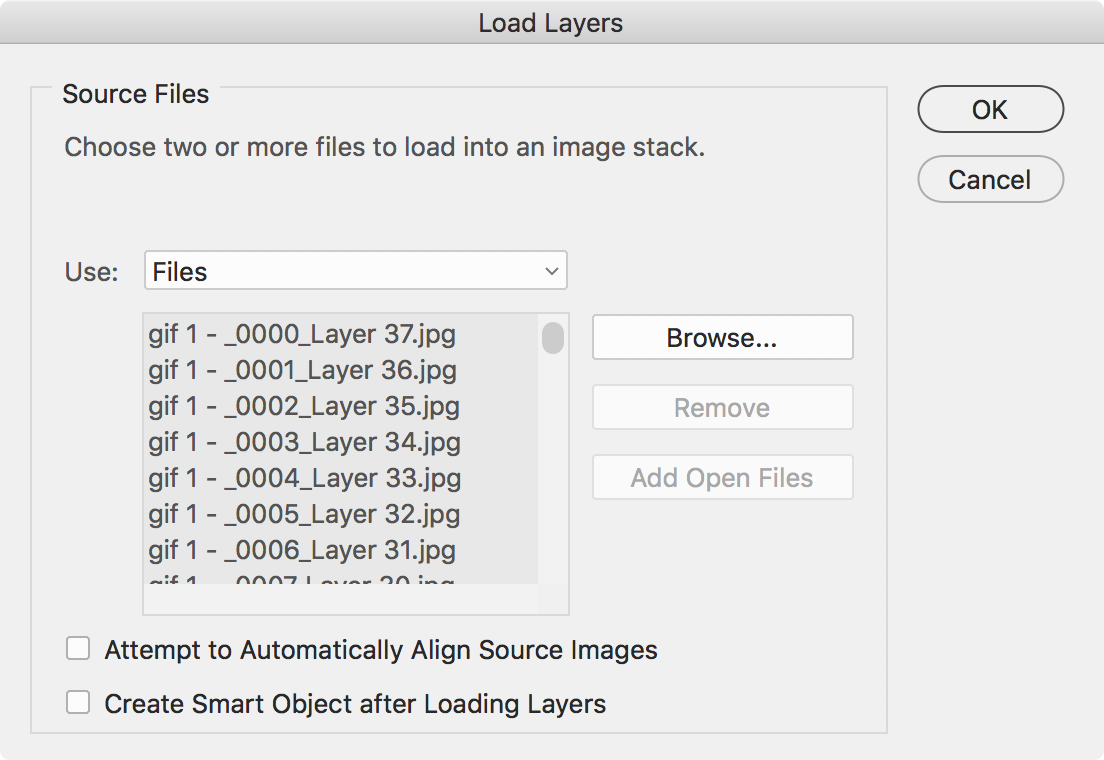
We’re going to use a special feature in Photoshop called a Script. You can create scripts to automate heaps of tasks, but today we’re just going to use a built-in Photoshop script called “Load Files Into Stack”. Find it in the “File” menu under “Scripts”. Select “Load Files Into Stack”, and Photoshop will bring up this dialog:

Click Browse…, navigate to the “First GIF” folder in today’s files, and select all 37 images. Click “Open”, and they’ll appear as a list:
Click OK, and Photoshop will create separate layers from these files.
Note: These images are quite tiny in terms of pixel size. Animated GIF files contain lots of frames, and can therefore run to many megabytes. Keeping the file to a low resolution helps to reduce file size.
4. Zoom in.
Let’s press [[⌘]] [[0]] [zero] so that we can see what we’re doing. Hopefully you’re seeing something like this:

5. Save your file.
Before we go any further, let’s save this as a PSD file. Hit [[⌘]] [[Shift ⇧ ]] [[S]] to get the Save As… dialog, and save it as GIF 1.psd (or whatever you like).
6. Create an animation timeline from the frames.
You’ll have spotted that there’s now a button in the Timeline that says “Create Frame Animation”. Click this and it’ll initiate an animation timeline by taking the top layer from the stack. We want all the layers to be in the timeline, so hit the little four-line hamburger menu in the top-right of the Timeline, and click “Make Frames from Layers”. After you’ve done this, you should see all the layers in the timeline:
Note: for this tutorial, your frames should already be in the right order. But depending on how your original files were named, your layers might be in reverse order. Fixing this is simple: just click that little four-line menu again, and click “Reverse Frames”
7. Preview the GIF.
We can preview how the animation is looking by using the player controls at the bottom of the Timeline. By default, each frame is set to “no delay”, meaning it stays on the GIF for the default time. That works fine for this first GIF, so let’s leave that setting as it is.
8. Export the GIF.
To do this we need to go File > Export > Save for Web (Legacy). The only thing we need to change here is “Looping Options” down at the bottom-right of the dialog box. Change this from “Once” to “Forever”—this means our GIF will keep repeating. Then, click “Save…” and click “Save” again in the filename dialog box. Your GIF is complete! Don’t believe me? Go find the file you just saved, and drag it into a web browser. The GIF should play in your browser.
9. Create the second GIF.
Repeat these steps for the second set of files you downloaded at the start of today’s tutorial. The only thing you’ll need to do differently here is to change the delay on each frame to something slower—maybe 2 seconds, so that people can take in each frame.
Using a GIF to create a simple slideshow animation like this can be a low-cost way to create simple animation elements for a webpage. For example, you could show off the stages of a whole design project through a simple GIF slideshow.
Still hungry for more GIFs? Try creating a GIF using some slides of your own work. All you need to do before starting is to make sure that the stack of files you’re importing are all the same size. Share your creations with us over on Twitter or Instagram!
Congrats! You’ve completed Photoshop 101.
We hope you’ve enjoyed Photoshop 101. We put this course together to be a free resource for novice designers, or practicing designers who’ve never used Photoshop before. We’d love to hear your feedback and critique of the course so that we can improve it for future users.
Feel free to leave us a note in the comments below, or drop us a line.
Happy designing!
Now that you’ve mastered the basics of Photoshop, you might be asking yourself "what's next?" If you’re looking to pursue a career in UX/UI design, take your design learning to the next level, with the UX Academy experience, our flagship digital product design bootcamp.
You’ll get started with UX Academy Foundations—an intro to UI design fundamentals that includes 35+ hands-on projects and a 10-hour design challenge. You’ll work 1:1 with an expert designer in 8 mentor sessions and walk away knowing if UX design is the right field for you before making the full financial commitment to UX Academy.
UX Academy Foundations is the perfect way to keep the creativity flowing and jumpstart a career change!