Complete the Landing Page!
Photoshop 101
Apply your new skills by designing the rest of the landing page.


Day 6: Complete the Landing Page!
Over the past 5 days, we’ve built a whole landing screen in Photoshop and learned plenty along the way. Today, we’re going to consolidate all the skills we’ve learned so far by extending our canvas and working on the rest of our design.
Day 6 learning objectives:
- Learn about the Image Size and Canvas Size resizing commands
- Cover common file types and different image export options
- Consolidate course learning so far
Time to complete: 45 minutes
Let’s get started!
1. Create your Day 6 file.
First, open up your Day 5 file, and hit Save As to create a fresh save for Day 6. As we get further into a project, it can be tempting to let our workflow principles fall by the wayside—but aim to stay in good habits by saving out those daily files. You don’t have to keep them forever, but this file saving discipline means we can at least go back a few steps if we need to.
2. Extend the canvas.
Next, let’s extend our canvas size so that we can work on the rest of our landing page design—the content “below the fold” (which simply means content that the user will have to scroll down to view).
Go to Image > Canvas Size… and set “Height” to be 2400 pixels instead of 800. Importantly, we want the canvas to extent downwards only. To achieve this, we need to click in the center-top of the cluster of arrows, like this:
Click OK, and Photoshop will extend the size of the image, but leave the existing layers and pixels just as they are.
Note: You might have spotted that in the Image menu, there’s another resize option called “Image Size…” This one re-scales the entire image, rather than simply extending the canvas. If we used it now, Photoshop would try to stretch all of the layers in our document. Generally, the “Image Size” option is used when we want to scale down photos to create smaller files.
3. Zoom out to see the new canvas.
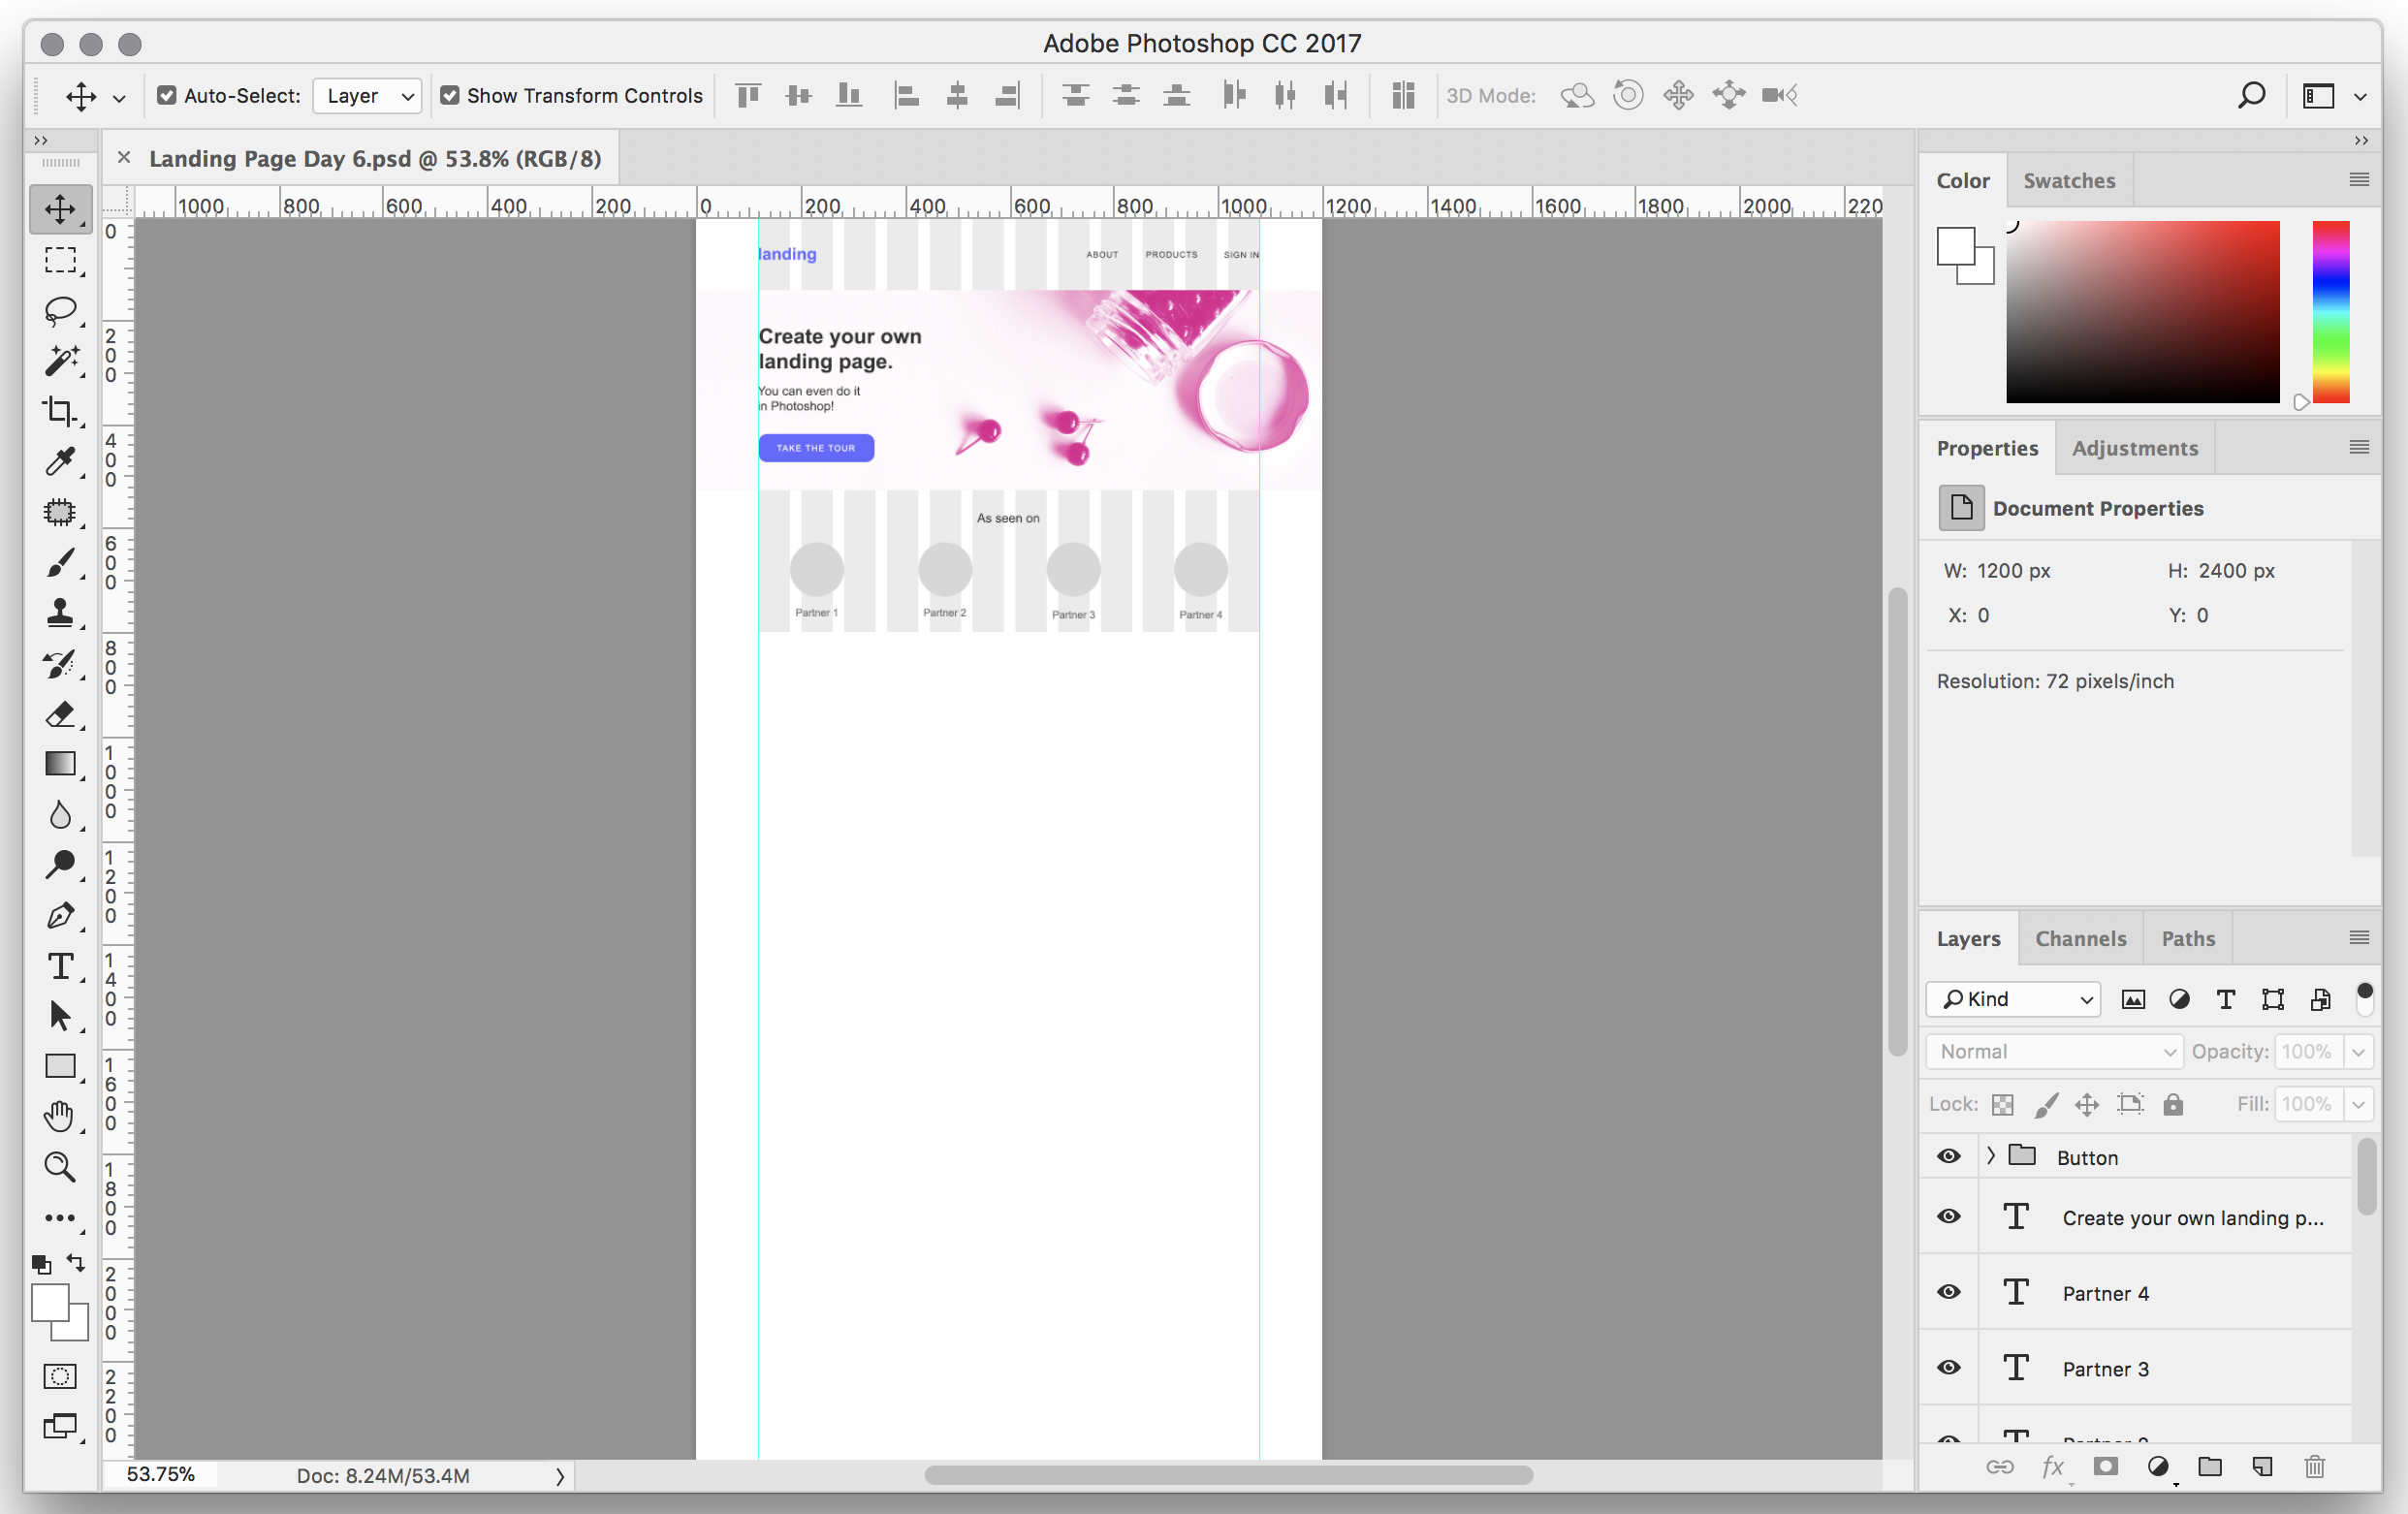
If you hit [[⌘]] [[0]] [zero] to show the whole canvas, you’ll be able to see the space we’ve now created:
Before we go any further, let’s extend the grid as well so that it stretches to the bottom of the page. To do this, find and select the group called “Grid” in your Layers panel—you’ll remember that we created this on Day 2.
Next, unlock that group by clicking the padlock. Press [[V]] to select the Move tool, and then click and drag the bottom-center resize handle in the main document area to extend the grid down to the bottom of the page.
Once you’re done, hit [[Enter]] to confirm the resize, then hit [[⌘]] [[/]] to lock the Grid group again.
4. Time to get creative!
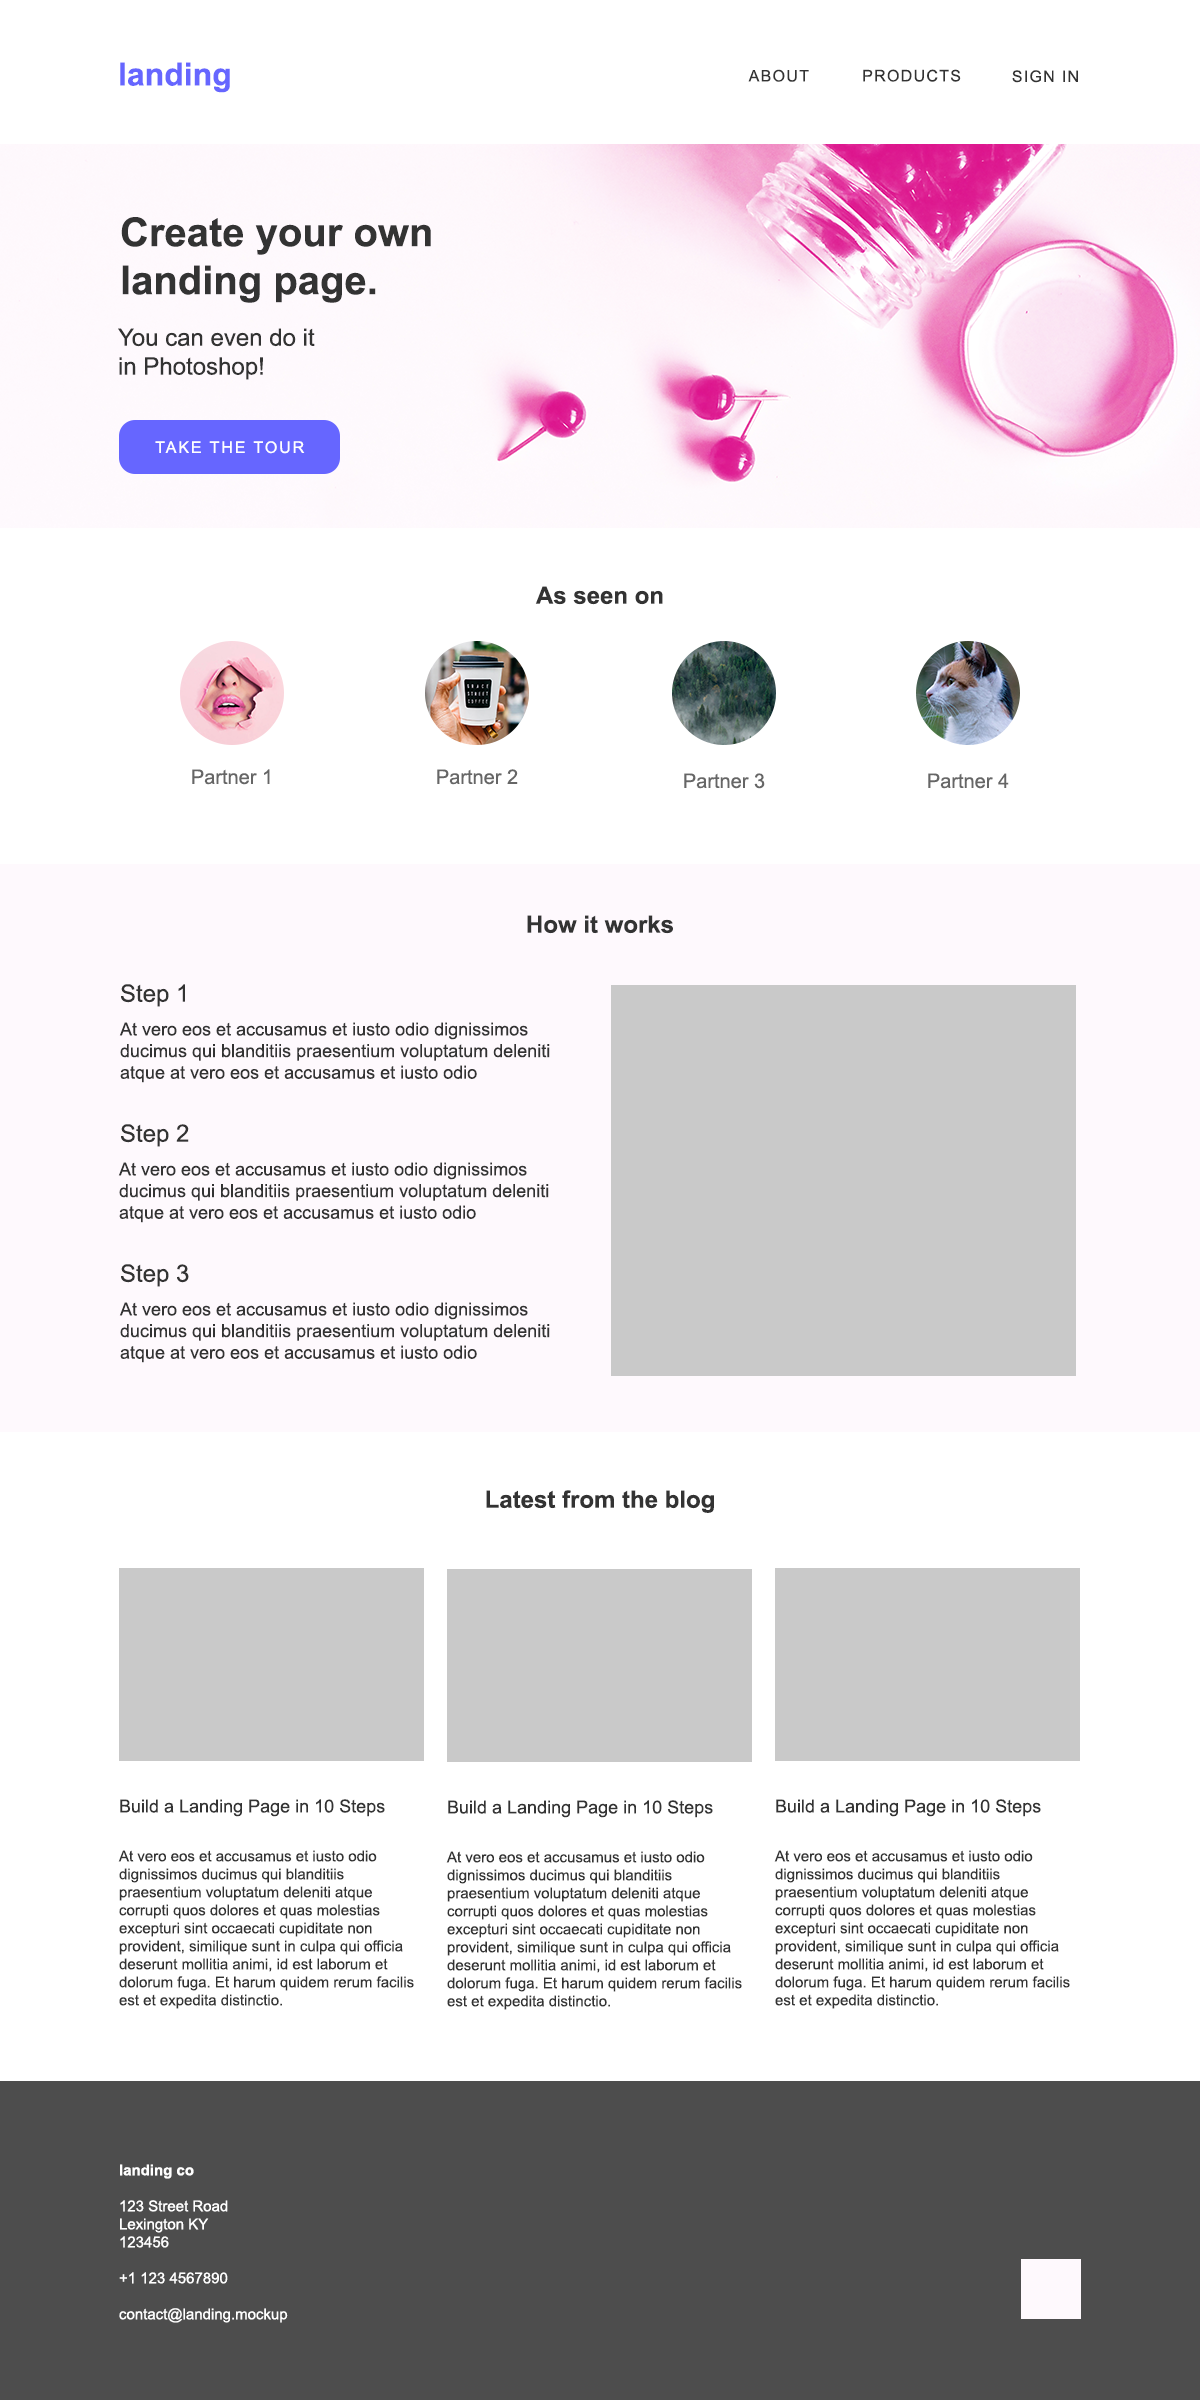
Have a go at designing the rest of your landing page content using the skills you’ve picked up over the past few days. For inspiration, check out www.land-book.com, or download today’s bonuses and have a go at reproducing our version:
5. Export your final design.
Once you’ve finished working on your landing page, it’s time to export the file so that you can share it. As well as the Export function we used a couple of days ago, there are other useful ways to export images in Photoshop:
- Quick Export as PNG: You can access this in the File > Export menu. It basically cuts out the Export dialog box and allows you to quickly save a PNG version of your file. PNG stands for Portable Network Graphics. It’s suitable for things like landing pages that have large areas of the same color. It’s not so suitable for images that are mainly photographic, because the files become very big. For any image that is mainly composed of photography, use JPEG instead.
- File > Save As… The Save As dialog box also gives you heaps more file format options. So, for example, we could save our file out as a TIFF if we wanted as well. TIFFs are very versatile and are often used when sending files to print—but they are also uncompressed, and again tend be very large files.
Day 6: check!
Why not share your landing page design via Twitter or Instagram? Tomorrow, we’re going to finish the course with something extra fun — by creating our own animated GIFs! See you then :)
Make Some GIFs!
Finish off the course with some fun GIF action!