Today’s learning objectives
Yesterday we wrapped up our card design and turned it into a Symbol. We almost have all the parts we need for our layout. But there’s one more important thing we should study – the pen tool! Today we’ll be creating a better logo by drawing our own shape from scratch. We’ll cover how to...
- Use the pen tool
- Trace images to create shapes from scratch
- Copy and paste assets between files
Reading & doing time: 40 mins (unless you pick up the pen tool like a pro!)
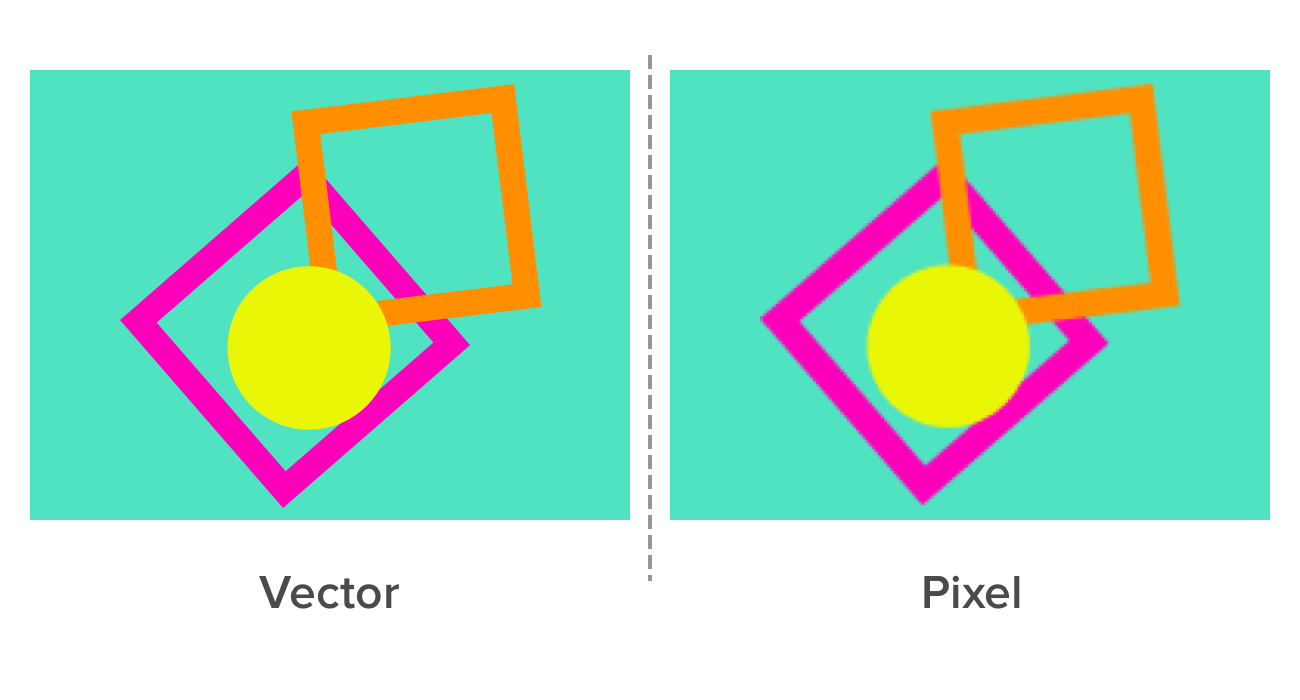
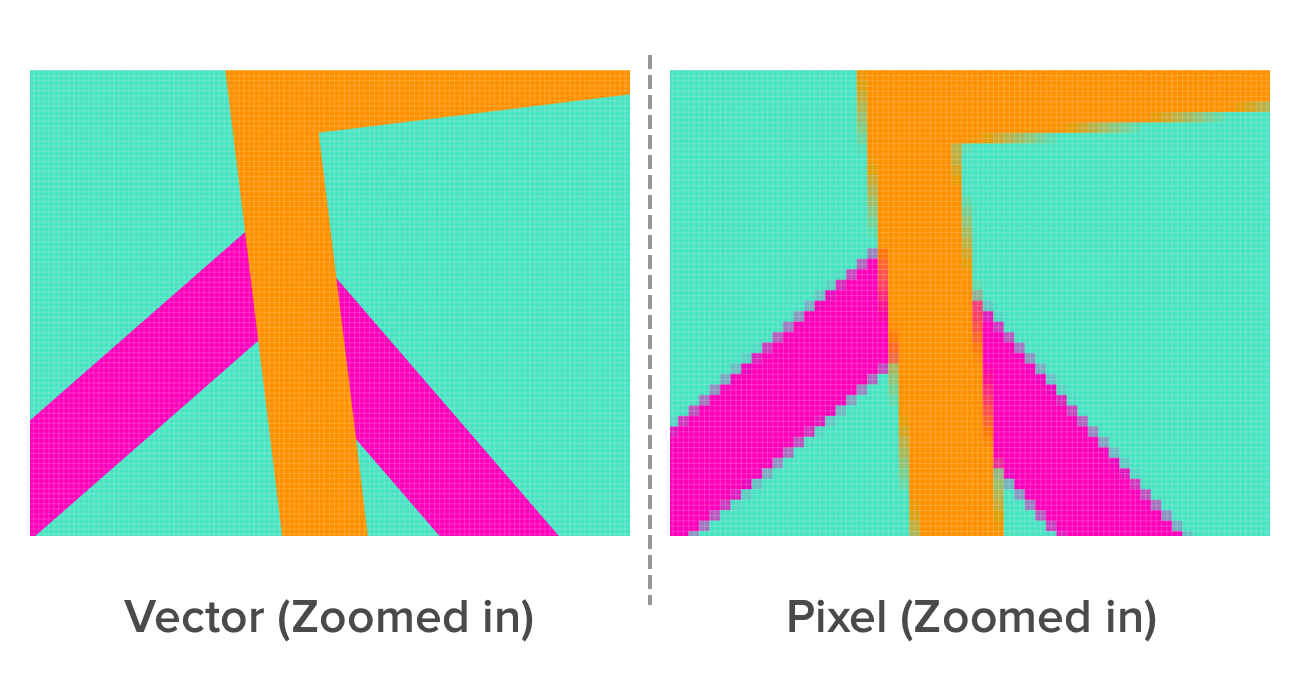
When we work in a bitmap editor like Photoshop, GIMP, or even Microsoft Paint, usually we are working with pixels and saving files made up of pixels. However, like Illustrator, Sketch is a vector image editor rather than a bitmap editor. This means that when we create shapes, what gets saved are mathematical instructions about how to plot curves, rather than just an array of pixel data. Vector shapes are highly flexible, and can easily be used in different programs and exported to any other image format.


So far we have been working with Sketch’s built-in shape tools, like the Oval and the Rectangle. But we needn’t restrict ourselves to simple shapes. By learning the pen tool, we can create complex, custom shapes with ease. Today, let’s learn the basics of how to draw shapes using the pen tool in Sketch.
Day 6 Tutorial: Create shapes with the pen tool
1. Download this Sketch file, which has shapes for you to trace
Don’t worry if your tracing isn’t perfect. The initial aim is just to get used to the principles of how the pen tool allows you to follow curves and create more complex shapes. Remember that you can press ⌘ + [Z] to undo the last action, and you can also use the [alt] and ⌘ keys while adding points and dragging handles. Doing this can give you more control over the shapes you’re creating. If you’re having trouble with this, check out the GIFs below!
2. Trace the straight line using the pen tool
Note that to make a straight line, you just click to create a point at each end – you don’t need to drag. Actually, if you do drag, you’ll end up making a curve. Once you’ve created the second point, press [enter] or [escape] to exit the shape. Other ways to exit the shape include clicking “Finish Editing” in the Inspector, or right-clicking and selecting “Confirm”.
3. Trace the square.
This is the same as the straight line, except with more points. You can hold down the shift key while adding points to ensure that your lines are perfectly horizontal or vertical. (Note that in Sketch, the shift key doesn’t currently constraint the pen tool at 45 degree increments: only 90 degree increments.)
4. Trace the house.
Again, we’re still dealing with straight lines here rather than curves
5. Trace the circle
Now, let’s start to create some curves. Whereas straight lines are created by just clicking to insert points, to create a curve we need to click and then drag. By dragging, we create a handle of a certain length and in a certain direction that determines how the curve will relate to the next point on the path
6. Trace the heart shape
For this one, you need to change each point to be a “disconnected” node. You can do this either by clicking the “Disconnected” option in the Inspector (as in the GIF above), or by using a keyboard shortcut while in the pen tool. Pressing “3” while dragging will select the “Disconnected” option. Here, Disconnected means that the point’s handles can be used completely independently of one another.
7. Incorporate the heart shape into your design as a new logo
Once you’ve finished tracing those images, select the heart shape you drew, and then press ⌘ + [C] to copy it to the clipboard. Go back to the Sketch file with your work from the past week, and select the Day 6 artboard. Press ⌘ + [V] to paste the icon in. Replace the house icon you created previously, and resize and re-color the new icon to however you like it.
8. Duplicate your artboard and rename it “Day 7” ready for tomorrow!
Congrats, you’ve covered the pen tool! You won’t be comfortable with it yet after just a few exercises. Keep practicing though, and it’ll soon start to come naturally. If you’re into illustration or creating your own icons, learning to draw with the pen tool is a huge advantage.
Anything in particular you found difficult when tracing those shapes? Give us a shout in the comments or let us know on Twitter, and we’ll send you some tips.
Bonus material

Put Everything Together and Export it
Draw together all your work into a unified web layout.


