Welcome to Part 2 of our series of tips to help you use Sketch more productively. Last time, we looked at how to work with objects, layers, and artboards. In this installment, we’ll explore some useful shortcuts for editing elements, and offer advice on exporting graphics.
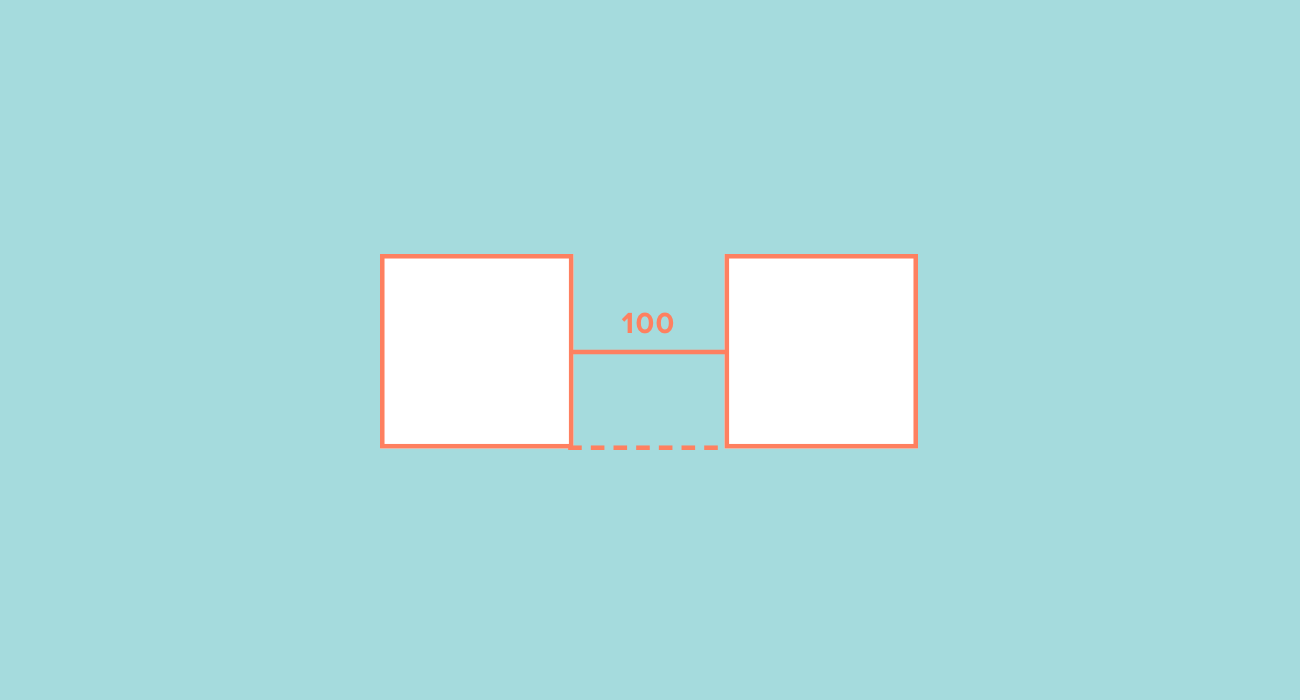
11. Measure distance between elements
To measure the distance between objects, hold down the option key while one or more objects are selected. With the option key still pressed, you can hover the mouse pointer over other elements to see the distance (in pixels) between them. It’s also possible to move elements while the option key is pressed, making measurement and alignment effortless.

12. Set opacity using number keys
To change the opacity (alpha value) of an element, first select it, then using the number keys on your keyboard. (1=10% opacity, 9=90% opacity)
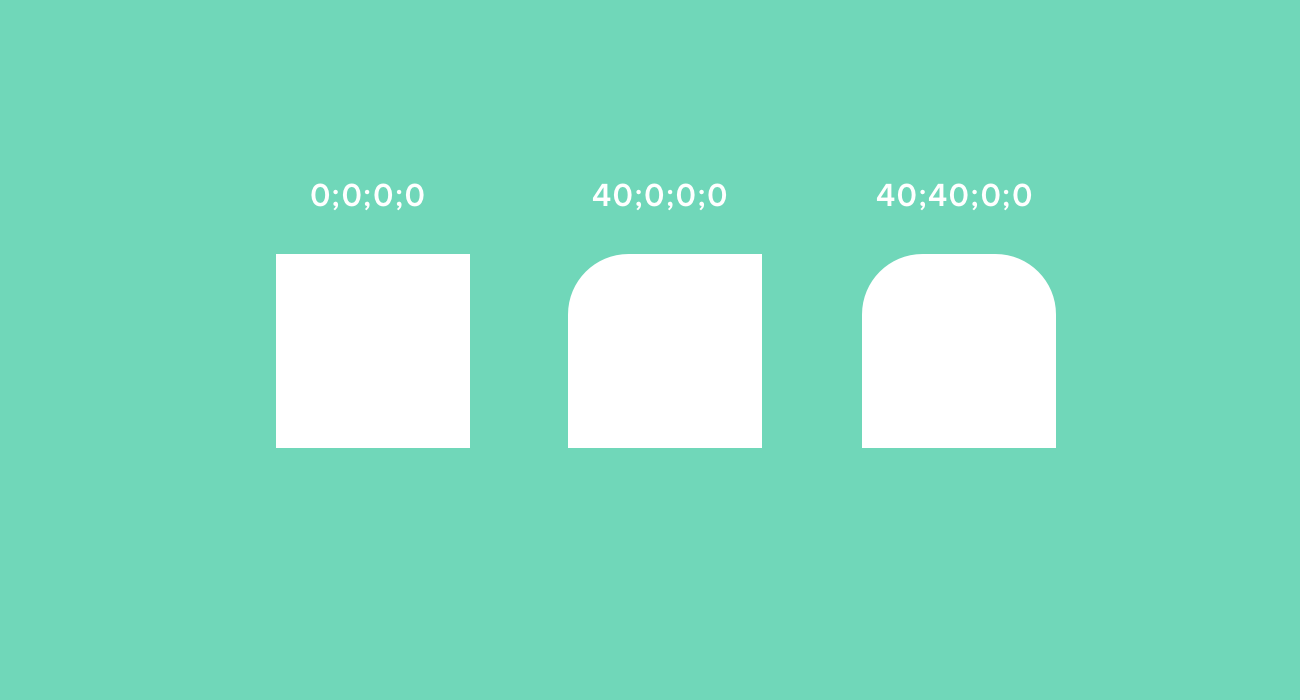
13. Individually change corner radius
You can quickly adjust the radius of an element’s individual corners. First, select the element. Second, click in the field next to “Radius” in the Inspector panel on the right hand side of the screen. Finally, type in an array of values (e.g. 10;20;30;40) to set each of the element's corners in sequence.

14. Custom shortcuts
You can assign custom shortcuts for Sketch functions you use often. Open MacOS System Preferences → Keyboard → Shortcuts. From there, click “App Shortcuts”, select “Sketch” from the drop-down list, and then add the shortcuts you need.
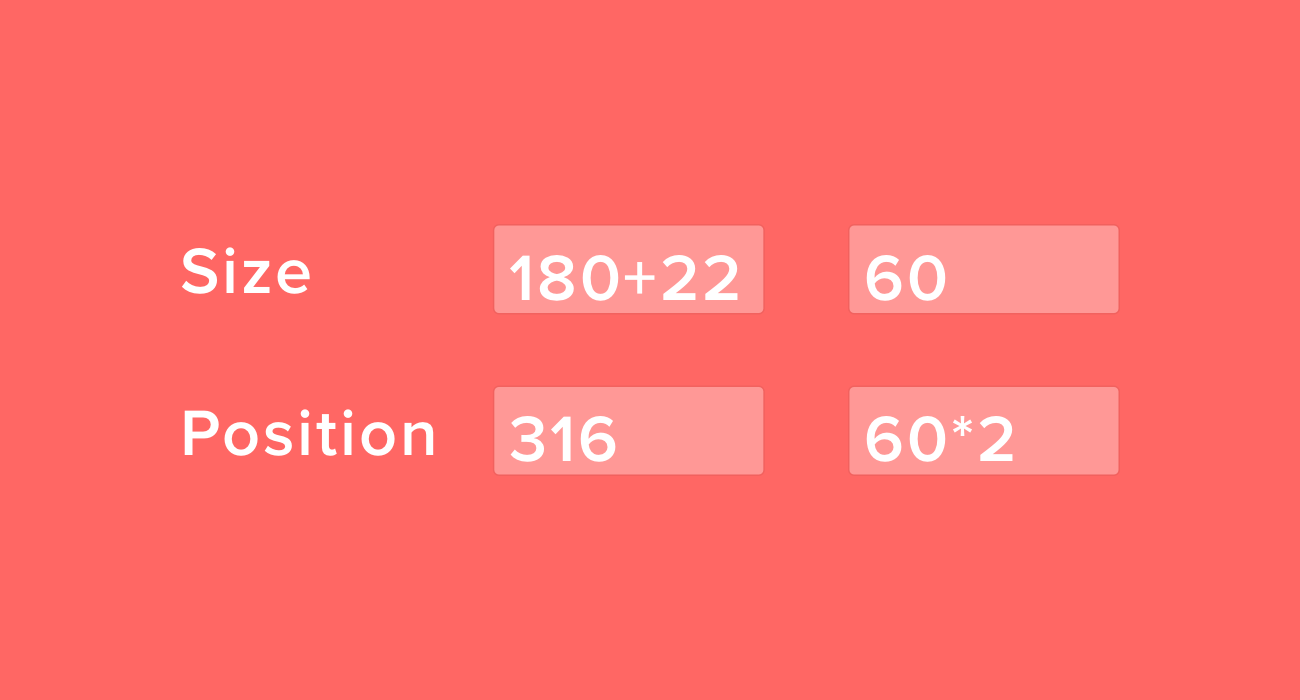
15. Math operations inside input fields
Sketch can calculate numbers in input fields. For example, double the width of a rectangle by typing *2 in the “Width” input field.
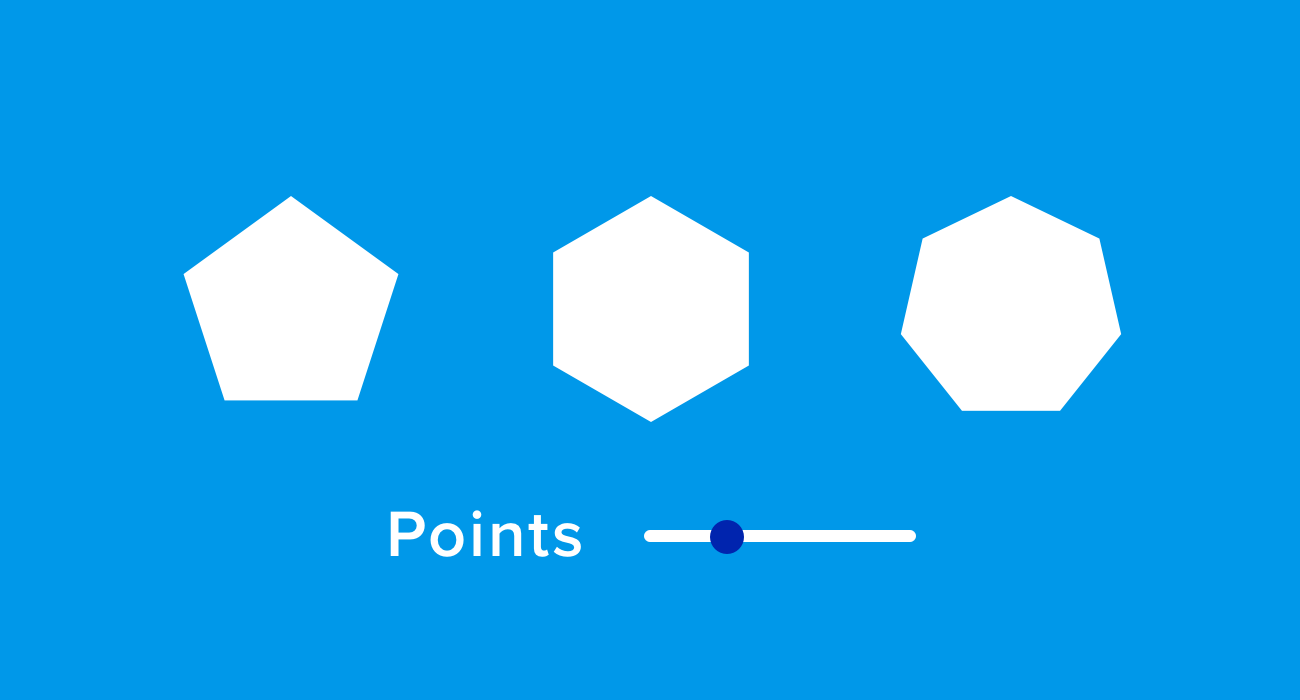
16. Complex shapes
Complex shapes like hexagons and stars have an additional slider in the inspector panel to manipulate the number of anchor points.
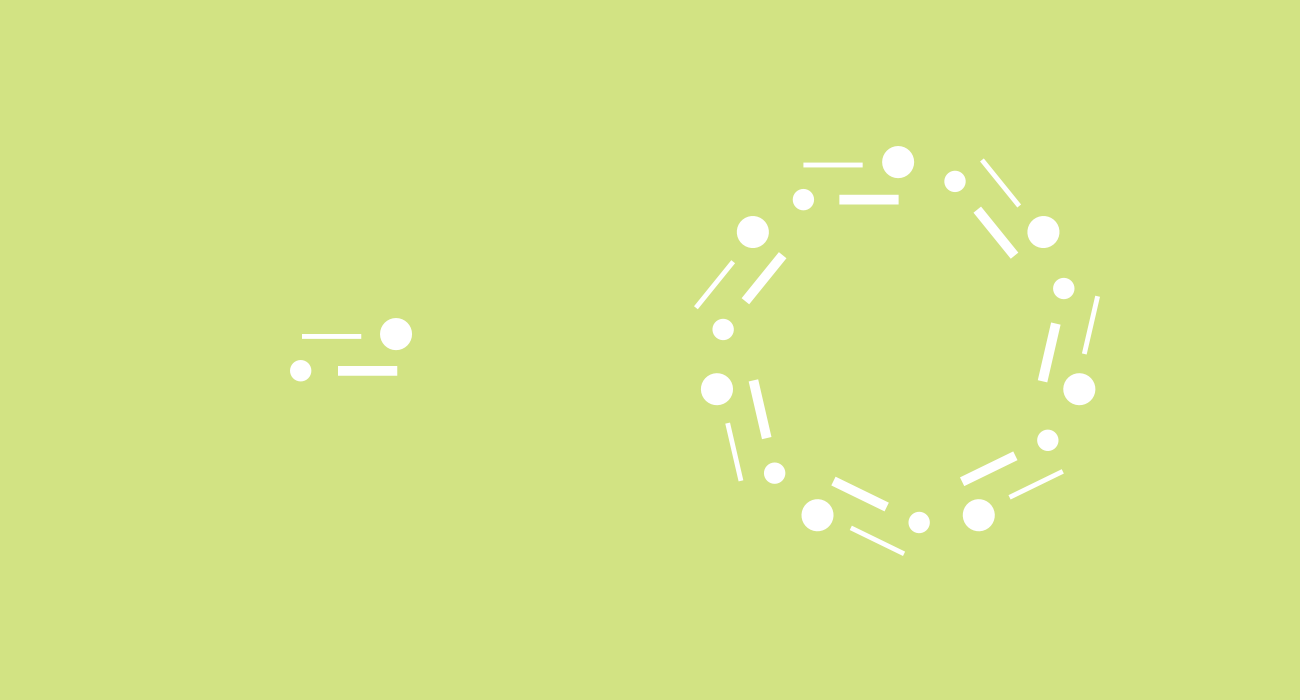
17. Rotating copies for kaleidoscopic effects
Right-click on the Toolbar at the top of the screen. Click “Customize Toolbar”, then drag “Rotate Copies” to a space on the Toolbar. Select an element, click the “Rotate Copies” button, and enter the number of copies you want to create. After you've clicked “OK”, you can edit the resulting group and its underlying shapes.
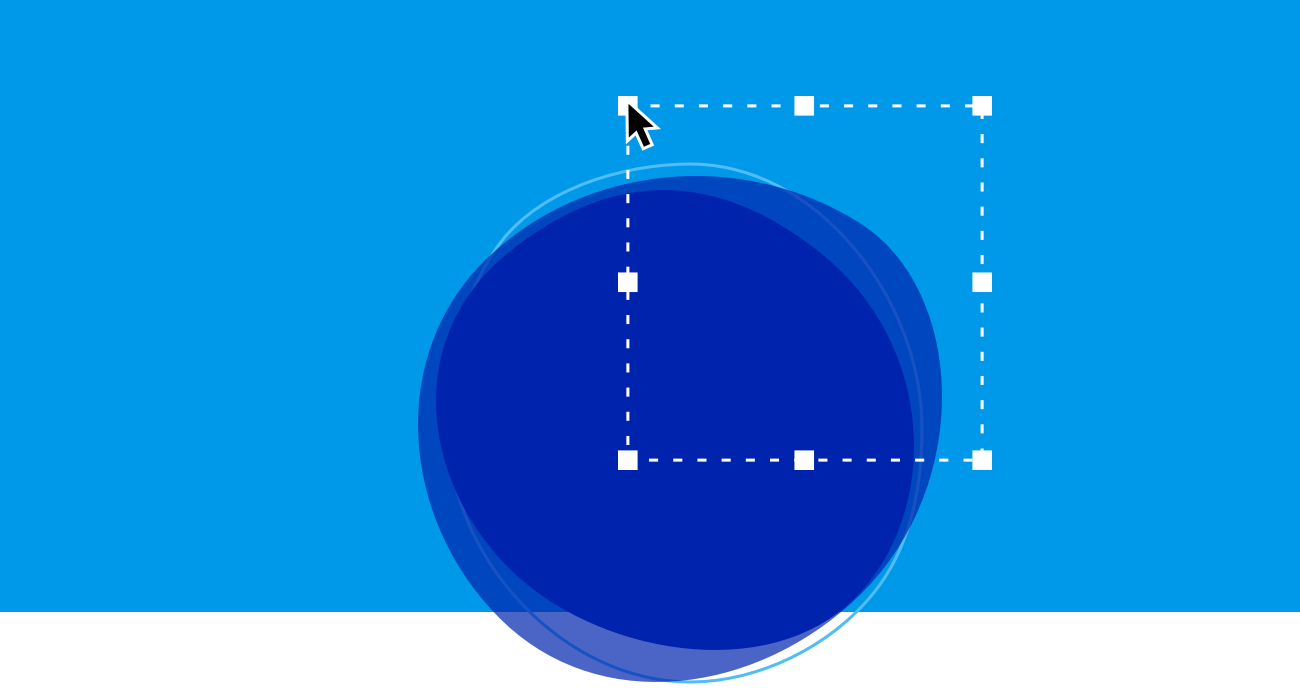
18. Slice
The Slice tool (keyboard shortcut s) allows you to drag out a marquee selection, which you can then export. The slice must be rectangular, but it doesn’t have to contain whole elements or whole artboards. It’s like taking a screenshot, but with more flexibility.
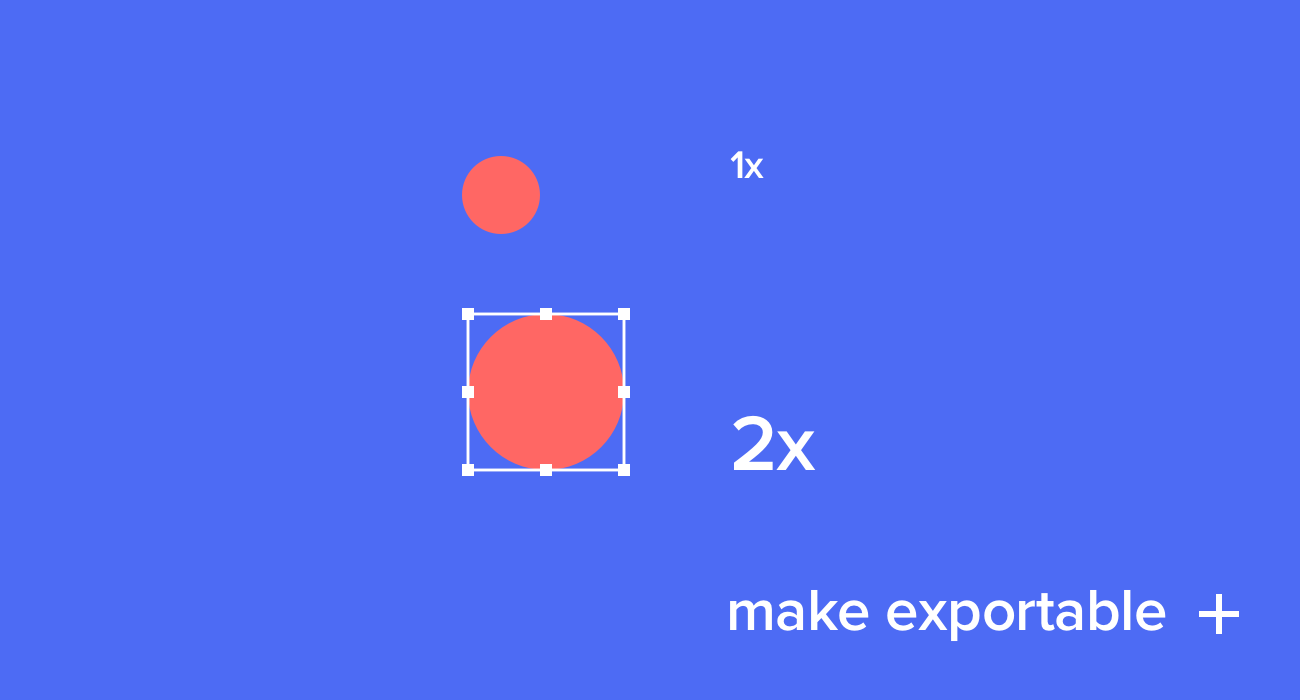
19. Making elements and artboards exportable
With an element, group, or artboard selected, click “Make exportable” in the bottom-right of the Inspector panel. From there, you can choose export sizes, filename suffixes, and file formats.

20. Exporting assets for retina screens
Many devices can now display graphics at “retina” resolution: for every pixel on a standard display, there are four pixels on a retina display. If you set up your artboards based on conventional pixel sizes (e.g. a webpage with a pixel width of 960px), you might still want to export your assets at a higher resolution for devices that offer displays with higher pixel density. To export at retina resolution, select an element, group, or artboard, click “Make exportable”, and type 2x in the “Size” field. (It's also possible to specify a particular pixel width in the “Size” field – e.g. 1920px.)
More Sketch Tips
- Sketch Tips Part 1: Objects, Layers, and Artboards
- Sketch Tips Part 2: Editing and Exporting
- Sketch Tips Part 3: Composition, Light and Shadow
If you’d like to learn the fundamentals of contemporary design, Designlab offers a Design 101 course that combines online lectures, curated resources, hands-on exercises and expert mentor support. Find out more about Design 101.
As a Designlab student, you can also get 50% off the price of a Sketch license. Find out more about student perks.


.svg)




.jpg)


