


Introduction to Figma
Figma 101
Get to know Figma's interface by designing a button.


Welcome to Figma 101!
Figma is a collaborative interface design tool that’s taken the design world by storm. Unlike Sketch or Adobe Illustrator, which are standalone applications, Figma can be run entirely from a web browser and, therefore, works not only on Macs but also on PCs running Windows or Linux, and even on Chromebooks. It's also free to use!
Another big advantage of Figma is that it allows real-time collaboration on the same file. When using conventional “offline” apps like Sketch and Illustrator, if designers want to share their work, they typically have to export it to an image file and then send it via email or instant message.
In Figma, instead of exporting static images, we can simply share a link to the Figma file for clients and colleagues to open in their browsers. This in itself saves significant time and can streamline a designer’s workflow. But more importantly, it means that clients and colleagues can interact more richly with the work and review the latest version of the file.
What we’ll cover in Figma 101
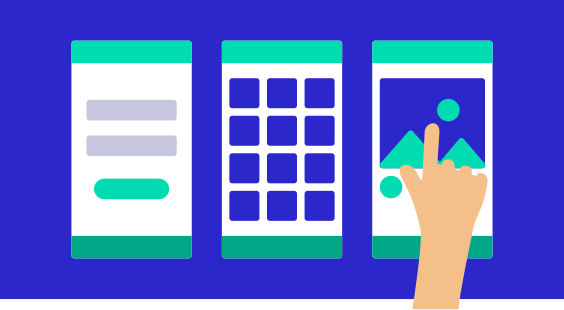
This course aims to introduce all of the key functions in Figma. We’ll achieve that by building a set of app screens together. We’ll also use Figma’s prototyping functionality to link the screens together, meaning you can experience how the screens will behave like they would if this were a functional app ready for people to download and use. You’ll be able to share your prototypes with friends, or develop your design further and add it to your portfolio!
Before we get started
Before we get started with today’s lesson, take a sec to work through our quick one-minute goal setting exercise. We want to make sure you’re getting the most out of this course... and that by the end of it you’ve mastered the basics of Figma and accomplished any personal learning goals!
Today’s learning objectives
- Find our way around Figma’s interface
- Experiment with some of the key functions
- Learn important keyboard shortcuts
- Figure out how to control the interface (zooming etc.)
- Create Frames, Rectangles, and Text layers
- Use Arrange and Align commands
Time to complete: 30 minutes
Today’s tutorial
1. Set up your Figma account
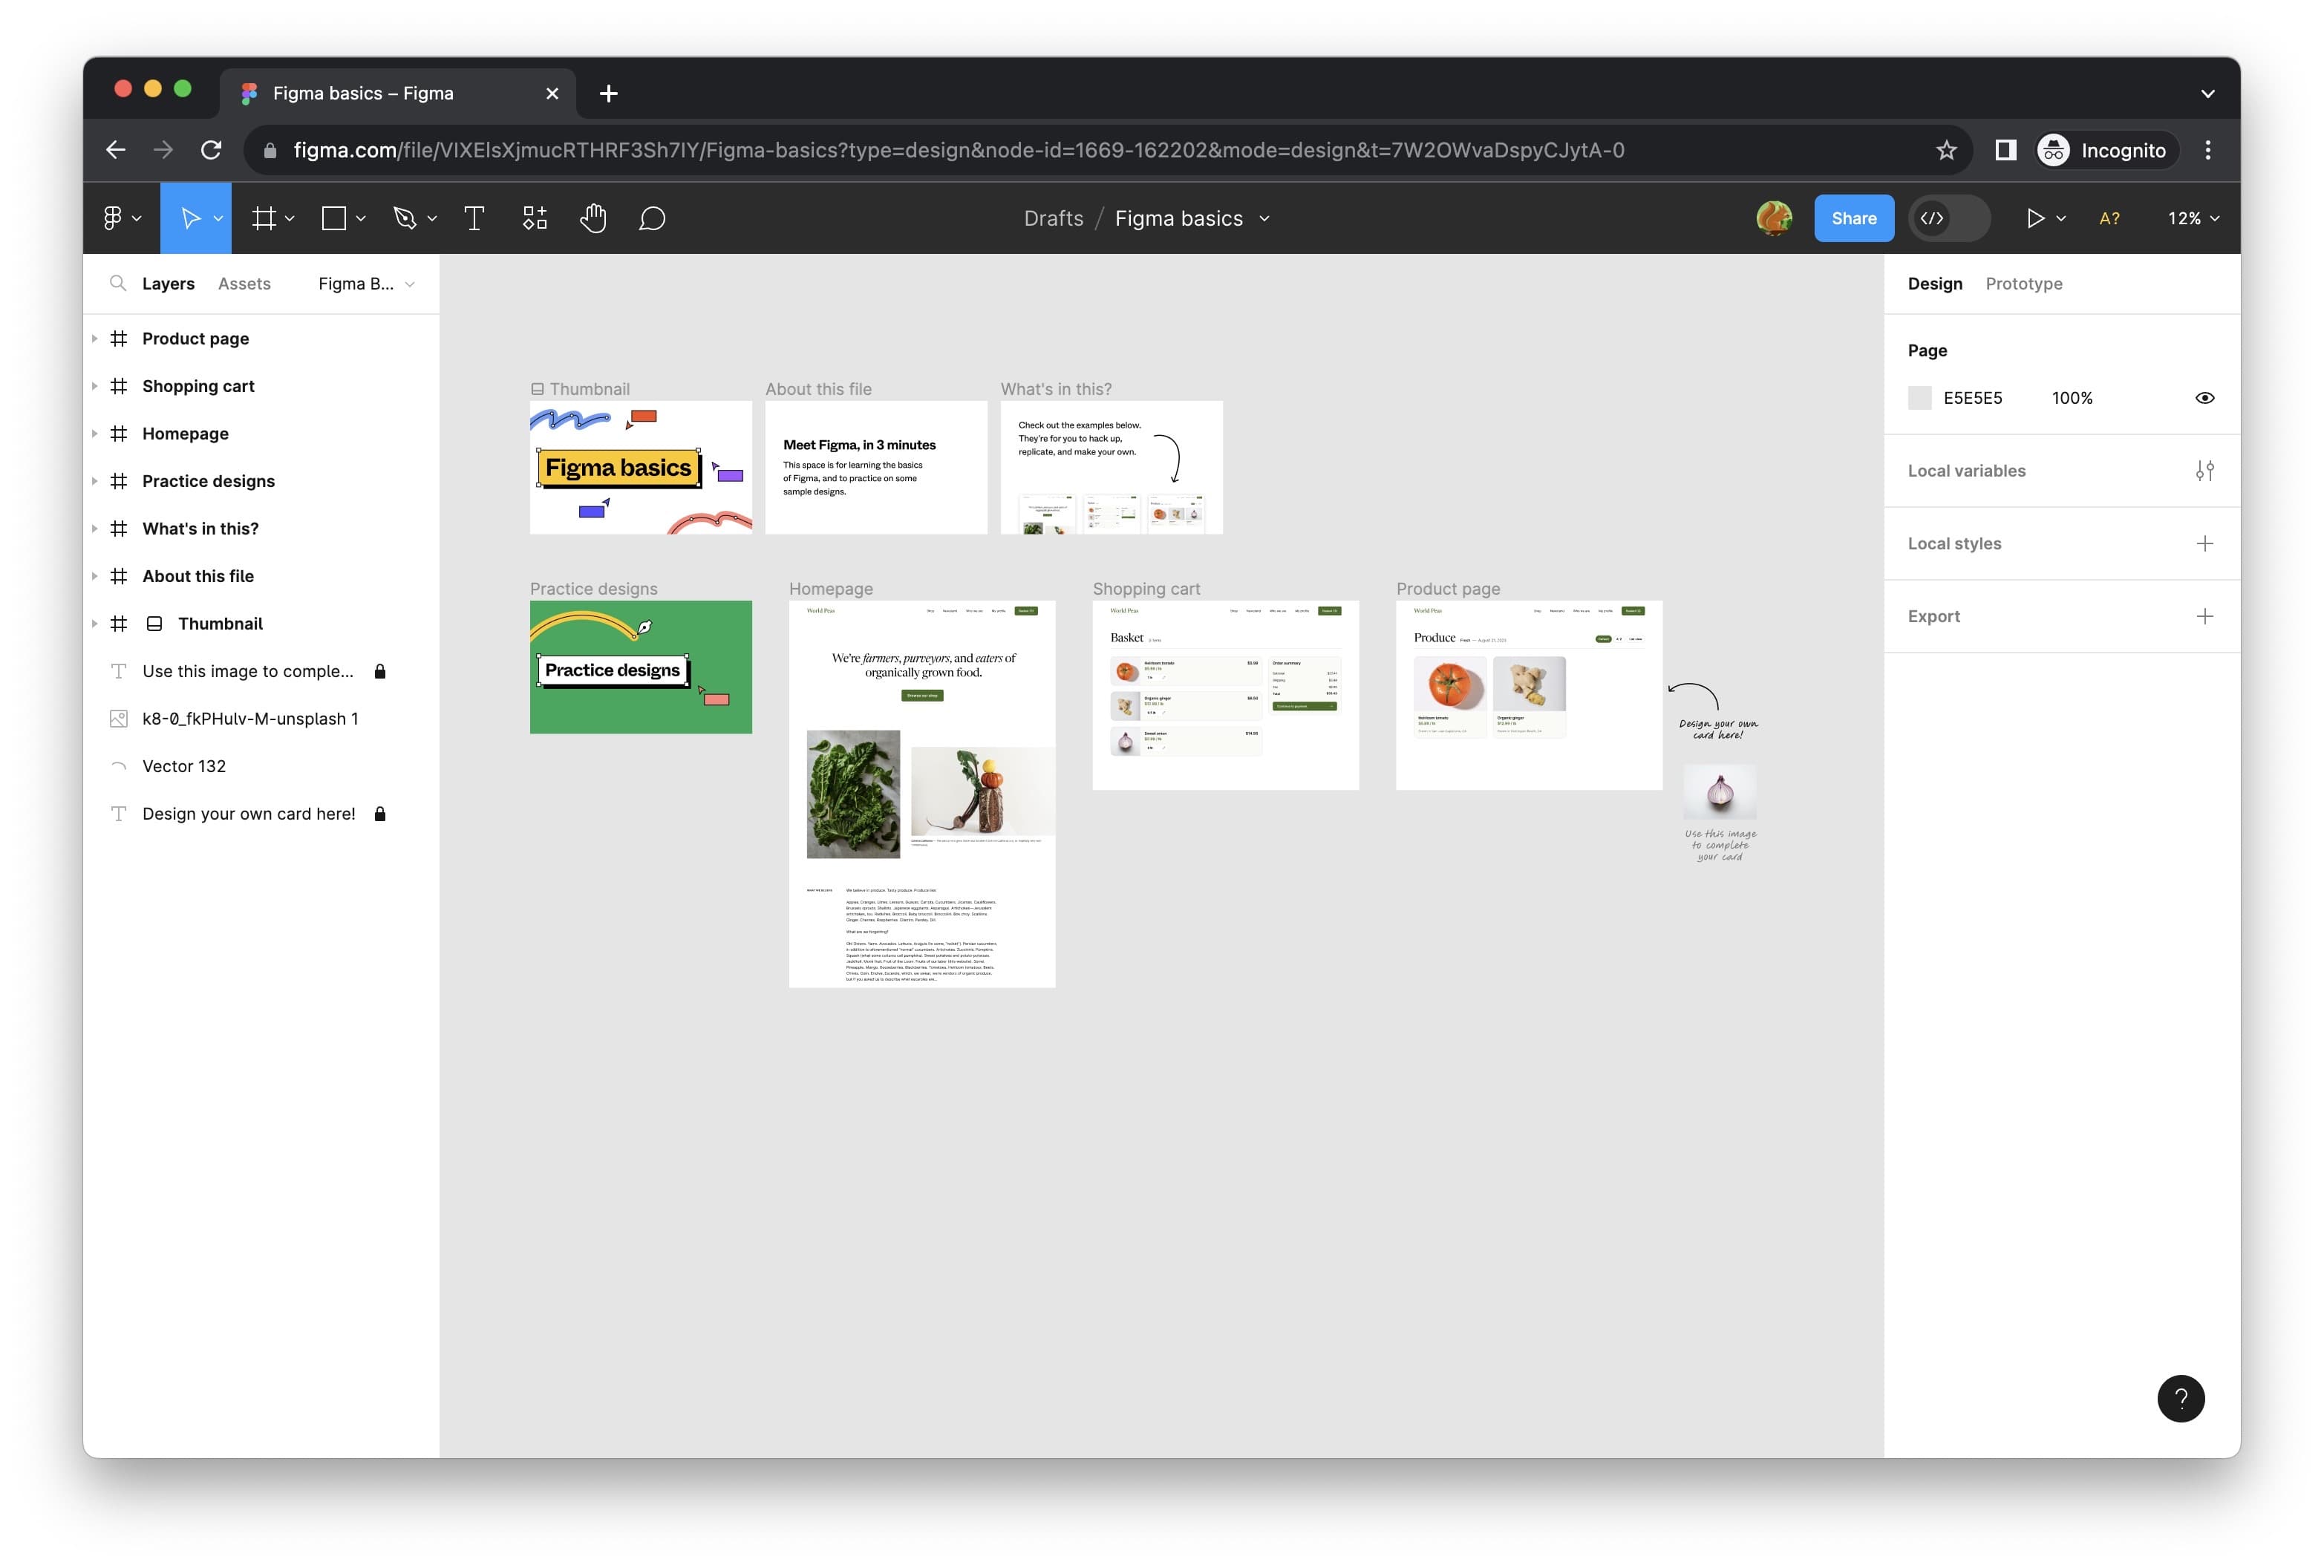
Getting started in Figma is as simple as going to www.figma.com, clicking “Get started”, entering your details, and completing a quick verification activity. Once you’ve done that, Figma will guide you to a screen with a few more onboarding questions before throwing you right into a project file with some examples of what you can create using Figma .
2. Take a look around the Figma interface
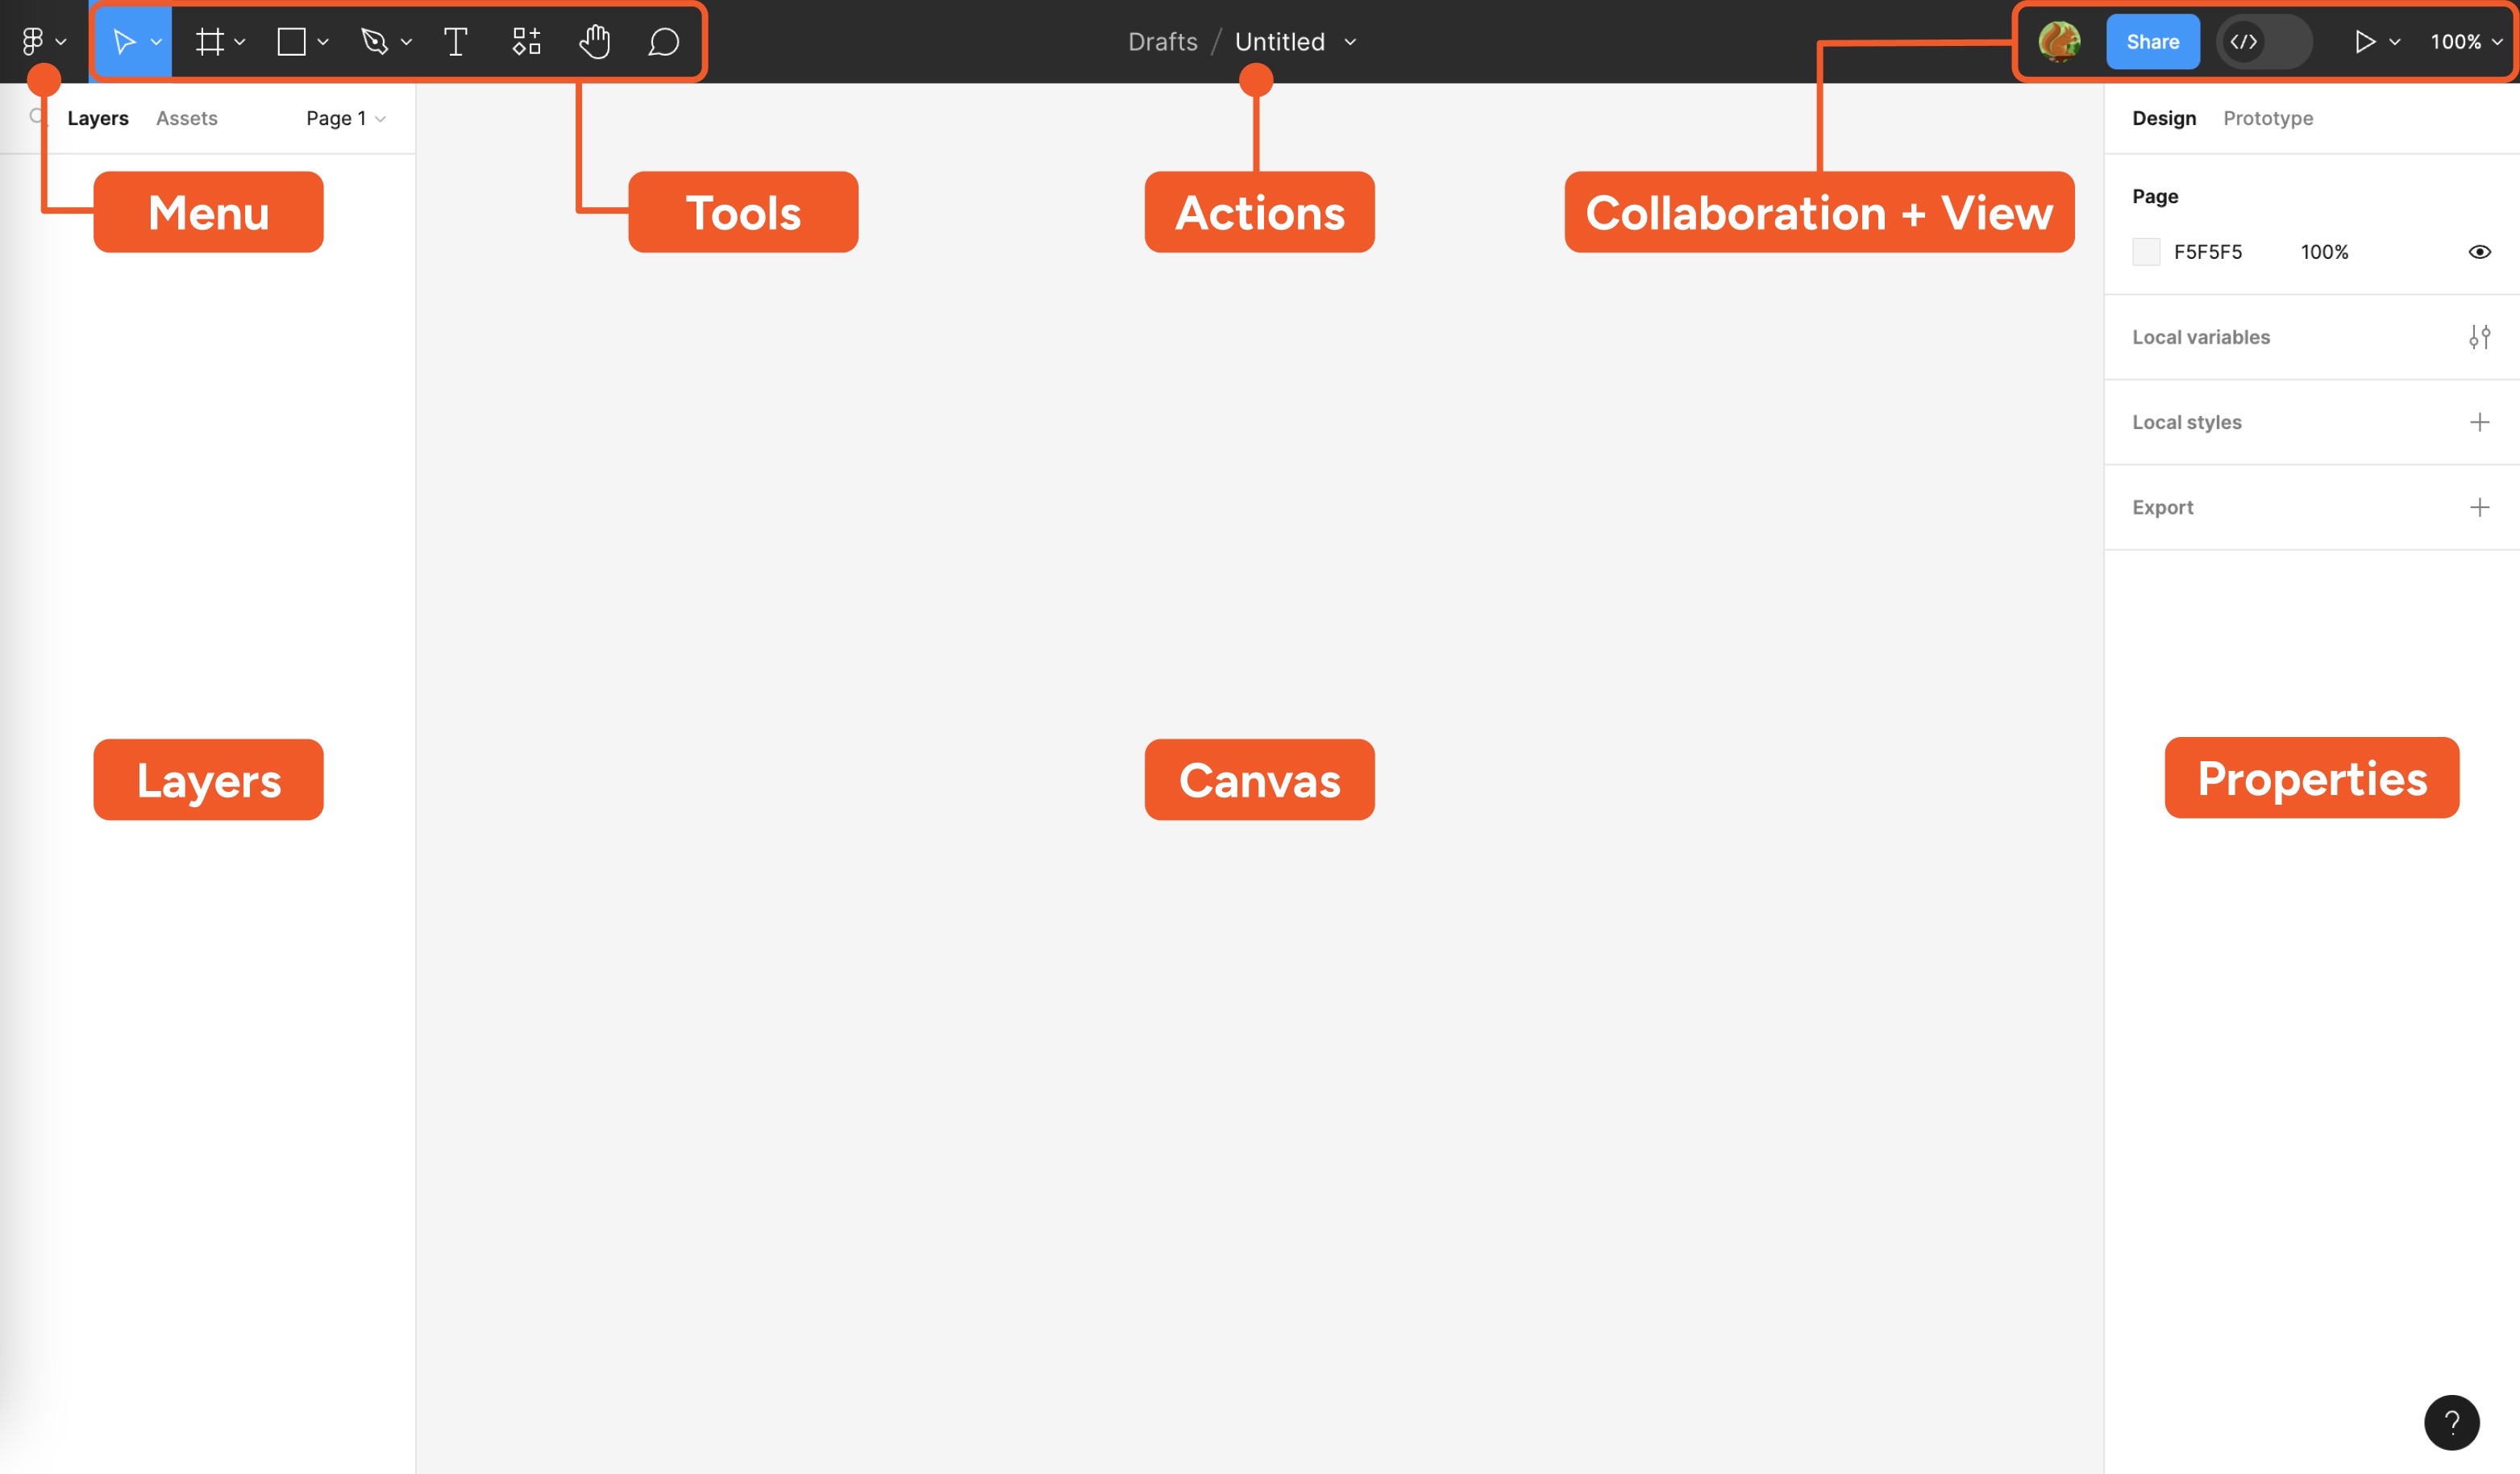
The look and feel of the Figma interface is quite minimal, but it belies a set of powerful features. Here’s an explanation of the interface’s main areas (labeled above):
Menu:
Unlike regular desktop design apps, Figma’s menu can be found by clicking the Figma logo in the top-left of the screen. Take a minute to browse around this dropdown and see what’s there! Here, you can also search for specific commands you need. Click on the magnifying glass where it says “Quick actions…” and type in “rectangle” and you’ll quickly find the Rectangle Tool, complete with a handy reminder of its keyboard shortcut (it’s [[R]], by the way).
Tools:
Here you can quickly access the tools you’re likely to use most often: move, frame, shapes, pen, text, etc. (We’ll cover these tools in the next couple of days!)
Actions:
This area shows extra options for whatever object you have selected on your canvas. When no object is selected (as shown above), Figma displays the file name.
Collaboration and View Options:
The right side of the toolbar is where you can find the file sharing functions and see who else is viewing your file in real-time. You’ll also find view and zoom options.
Layers:
Also known simply as the “left sidebar,” this is where every element in the file is listed and organized into Pages, Frames and Groups.
Canvas:
This is where you’ll create all of your designs!
Properties:
The properties panel offers contextual information and settings for whatever object is selected. In the image above, we’re seeing options for the Canvas itself. By default, you’re viewing the Design tab, but there is also a separate tab for setting up a Prototype —we’ll cover this later in the week.
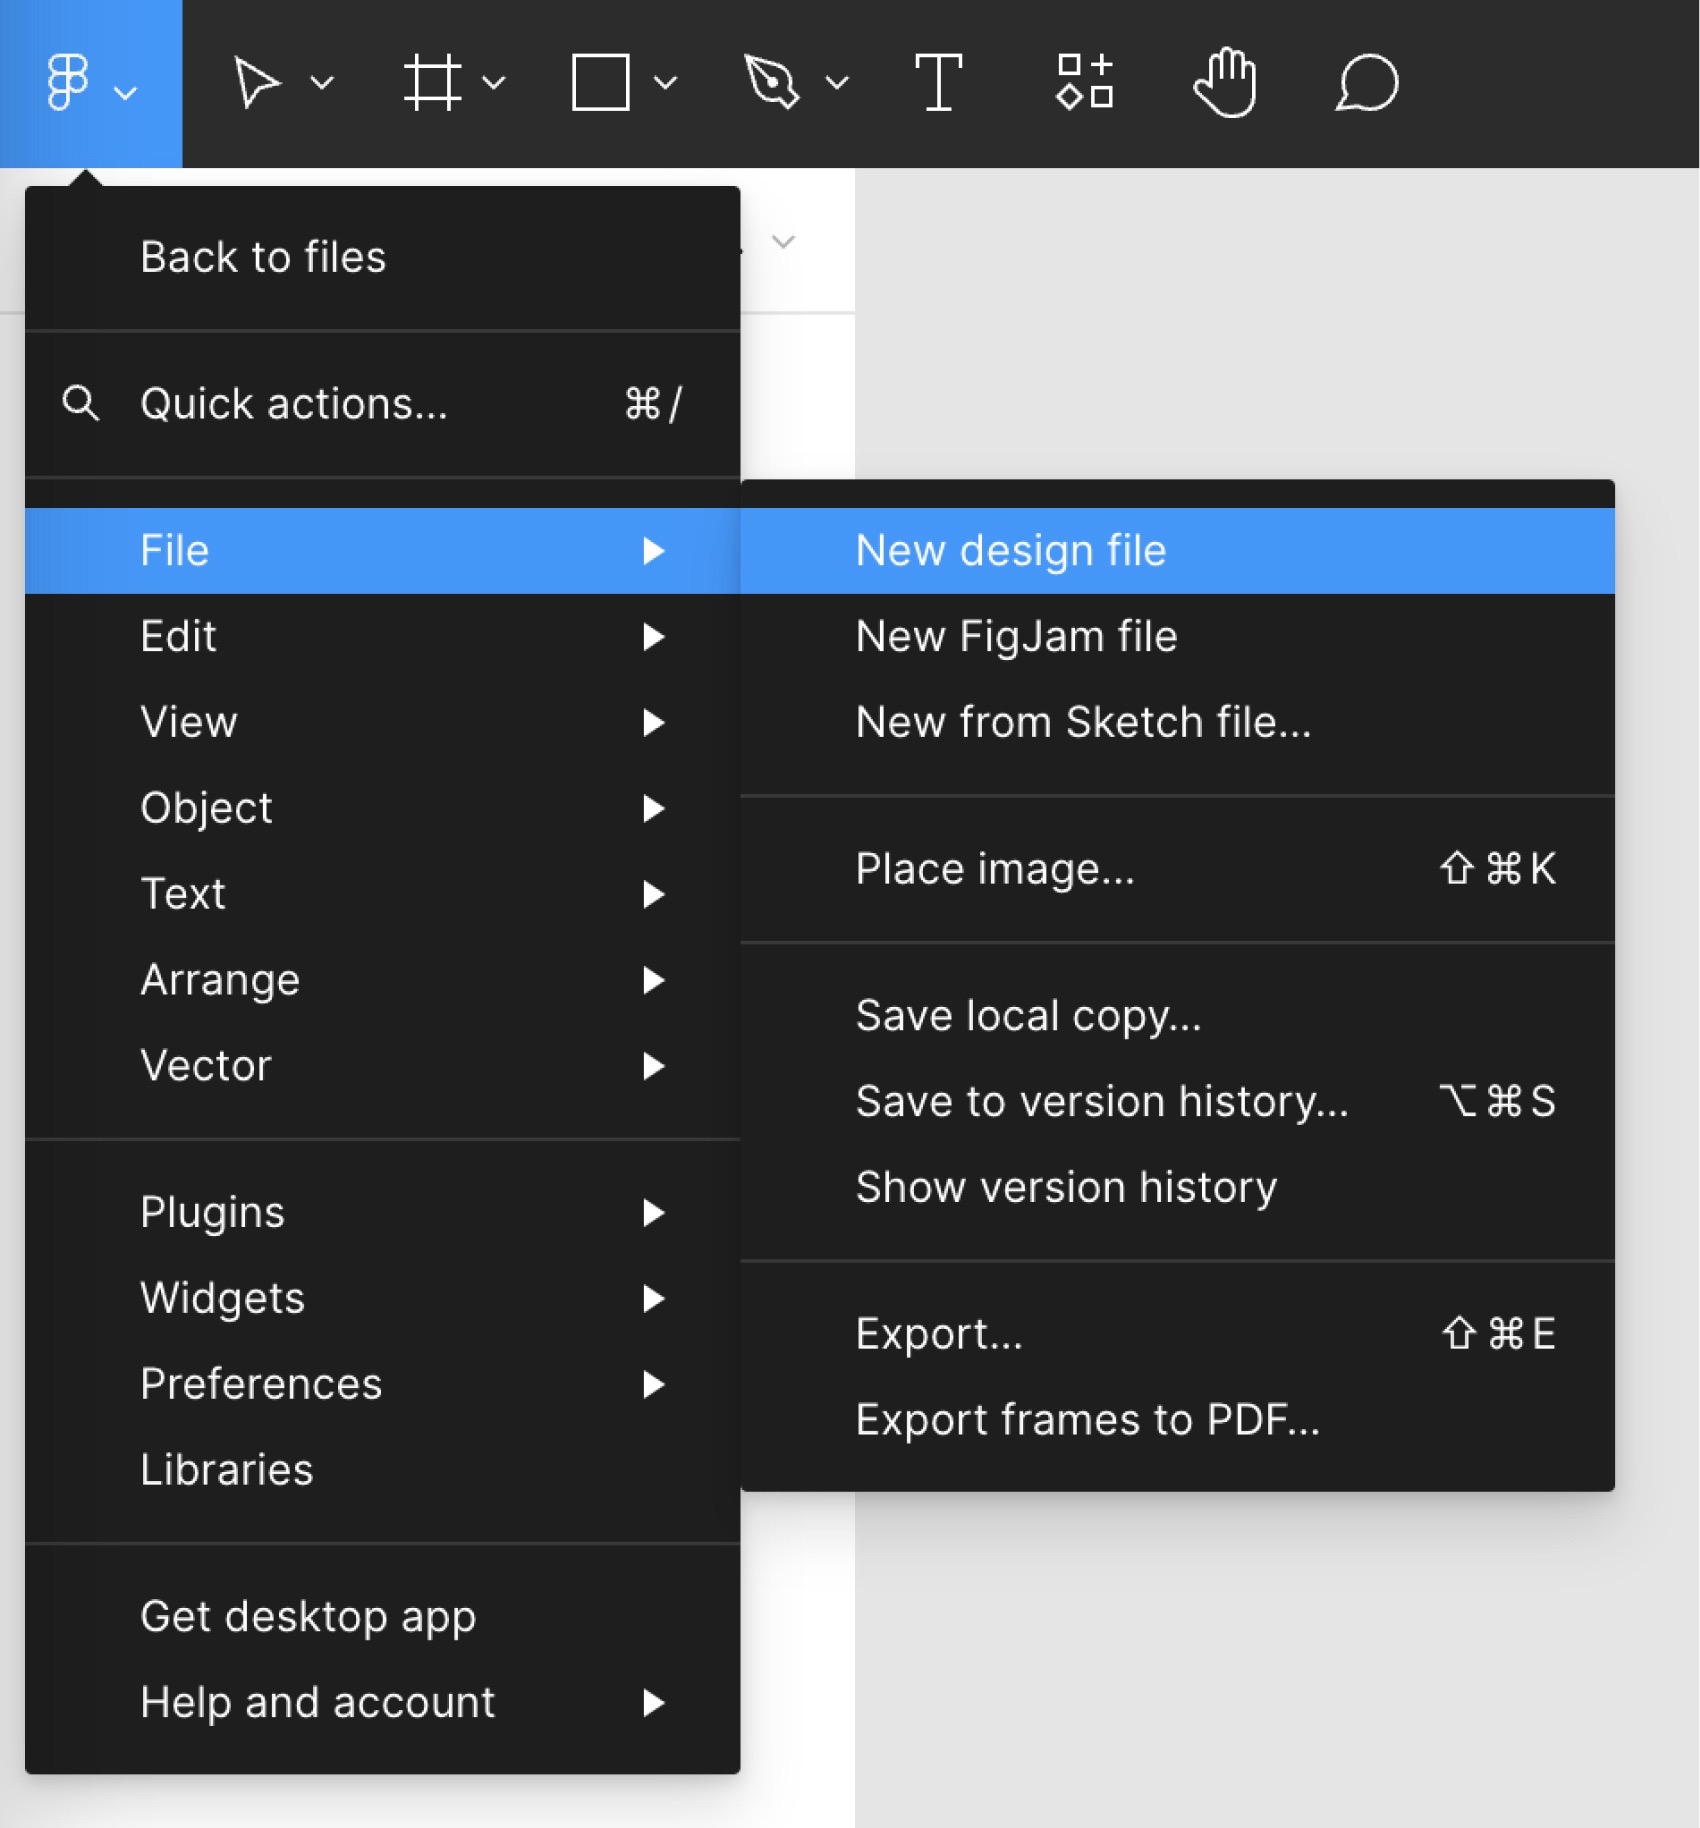
3. Start a new design file
Now that you’ve found your way around, let’s start making stuff! Let’s start a new project by clicking the Menu button (Figma’s logo) in the top left corner and then selecting File and “New design file.” Doing this should automatically create a new file with an empty canvas in a new tab on your browser.
4. Create a Frame
In Figma, a Frame is essentially a container for other elements. If you’ve used Sketch or Adobe Illustrator before, it functions in the same way as an Artboard. Press [[F]] to select the Frame Tool. Alternatively, you can click the Frame tool icon in the toolbar at the top of the window. Equally, if you’re used to Sketch, you can also hit [[A]] (for “Artboard”).
Note that we’ll often refer to keyboard shortcuts in these tutorials. It’s worth getting in the habit of using these shortcuts because they’ll significantly speed up your workflow further down the line. In the short videos through this course, you’ll see the keystrokes we use on Mac computers.
There are a couple of ways of creating a Frame. We can either click and drag in the canvas area, or we can select a pre-set Frame size from the Properties panel on the right hand side of the window. We chose the iPhone SE template. Try both ways now!
5. Practice zooming in and out
You’ll probably find yourself wanting to zoom in and out quite a bit in Figma, particularly once we start working with multiple Frames. The standard zoom commands are accessed with [[⌘]][[+]] and [[⌘]][[-]]. Try it now!
Those commands will just focus in on the center of your current view. But there are some other handy zoom commands available:
- [[Shift ⇧]][[2]] will zoom to the current selection
- [[Shift ⇧]][[1]] will zoom to show the whole canvas
Select the Frame by clicking on its name, then try alternating these commands to switch between the selection and the whole canvas.
Finally, here’s an *extra* handy zoom tip to move between Frames without having to zoom in and out the whole time:
- [[N]] will zoom to the next Frame
- [[Shift ⇧]][[N]] will zoom to the previous Frame
6. Practice using the hand tool to move around the canvas
Another useful tool, particularly when you’re zoomed in close or working on a large file, is the Hand tool. Try pressing and holding the [[Spacebar]] on your keyboard and you’ll see a hand icon pop up. Click and drag to move the whole canvas around. If you’re working with a Mac trackpad, you can do the same by dragging on the trackpad with two fingers.
7. Create a Text layer
Next, let’s create some text. Press [[T]] to select the Text tool, and click anywhere within your iPhone SE frame to create a Text layer. This is going to be part of a button design, so let’s type “Sign In”. Hit [[Escape]] to exit the Text tool.
8. Create a rectangle and arrange the layers
Press [[R]] to select the Rectangle tool. Drag a button-shaped rectangle around the text you just created.
Currently, the text is hidden underneath the rectangle. To fix this, we need to use Figma’s “Arrange” commands. Head over to the Layers panel on the left of the window. Select the “Sign In” text layer, then right-click (PC/Mac) or ctrl-click (Mac) to bring up a list of options. Click “Bring to front”, and the text will now be placed on top of the rectangle.
You can also access Arrange tools using keyboard shortcuts:
Mac:
- [[⌘]][[]]]: bring forward
- [[⌘]][[Opt]][[]]]: bring to front
- [[⌘]][[[]]: send backward
- [[⌘]][[Opt]][[[]]: send to back
PC:
- [[Ctrl]][[]]]: bring forward
- [[Ctrl]][[Shift ⇧]][[]]]: bring to front
- [[Ctrl]][[[]]: send backward
- [[Ctrl]][[Shift ⇧]][[[]]: send to back
9. Align the text and rectangle
This being a button, we want the text and rectangle shapes to be centered relative to one another. Figma has a set of “Align” commands that allow us to do this. Make sure that the Move tool is selected by pressing [[Escape]], or [[V]], and then drag a “marquee” (a rectangular selection) around the text and the rectangle.
We can access the Align commands in the Properties (the interface area to the right of the window). Click “Align Horizontal Centers” and “Align Vertical Centers” to get the two objects nicely lined up.
10. Add rounded corners to the rectangle, and change the color
Select the rectangle shape you just created. In the Properties panel, there is a setting called “Corner Radius”, which allows us to make the corners of any shape rounded. Here, type in the number of pixels you want each corner to be rounded by.
To max out the corners and create semi-circles at each end of the rectangle, just enter a number larger than half the object height. (We set ours to 32 so that we’re covered in case we want to make the button a bit bigger later on—but try out some different numbers and see what happens!)
The color settings can also be found in the Properties panel. We often want to attract people’s attention with buttons—so select the rectangle, and pick a bright color! We’ve gone with a bright yellow by typing in a hex code (#EEEE33)—but you can also click to open the color palette, and pick a color that way.
11. Change the font
With the text layer selected, you can access settings in the Properties panel to change the font, as well as font size, weight, and color. We’ve stuck with Inter, but switched up to bold and uppercase text. We also aligned the text to center. Try exploring the options!
Way to go!
That brings us to the end of Day 1 of Figma 101! We’ve found our way around the interface, tried out a few basic tools, and created a button that we’ll be able to use in our app.
The final thing to do for today is to give our file a name—to do this, just deselect all objects ([[Escape]] will do the trick), and click where it says “Untitled” at the top of the window. Then type something like “Figma 101 App”. That’s it! Figma stores all your files in the cloud.
See you again tomorrow, when we’ll be creating our first app screen.
Today’s bonuses:
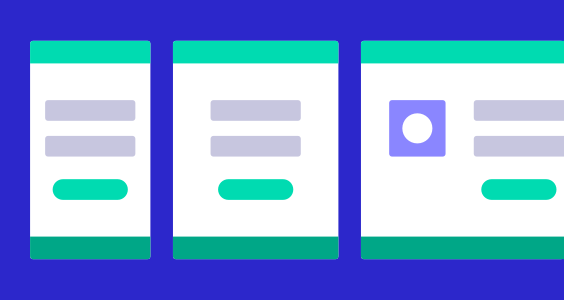
Design an App Screen
Create a login screen for your app.
